This is the first chapter of the series . In this chapter, we will look at the most common server-less components of AWS, namely Lambda and DynamoDB. We will not be looking at the server-less components at deep-dive manner, for those AWS have very amazing resources online.
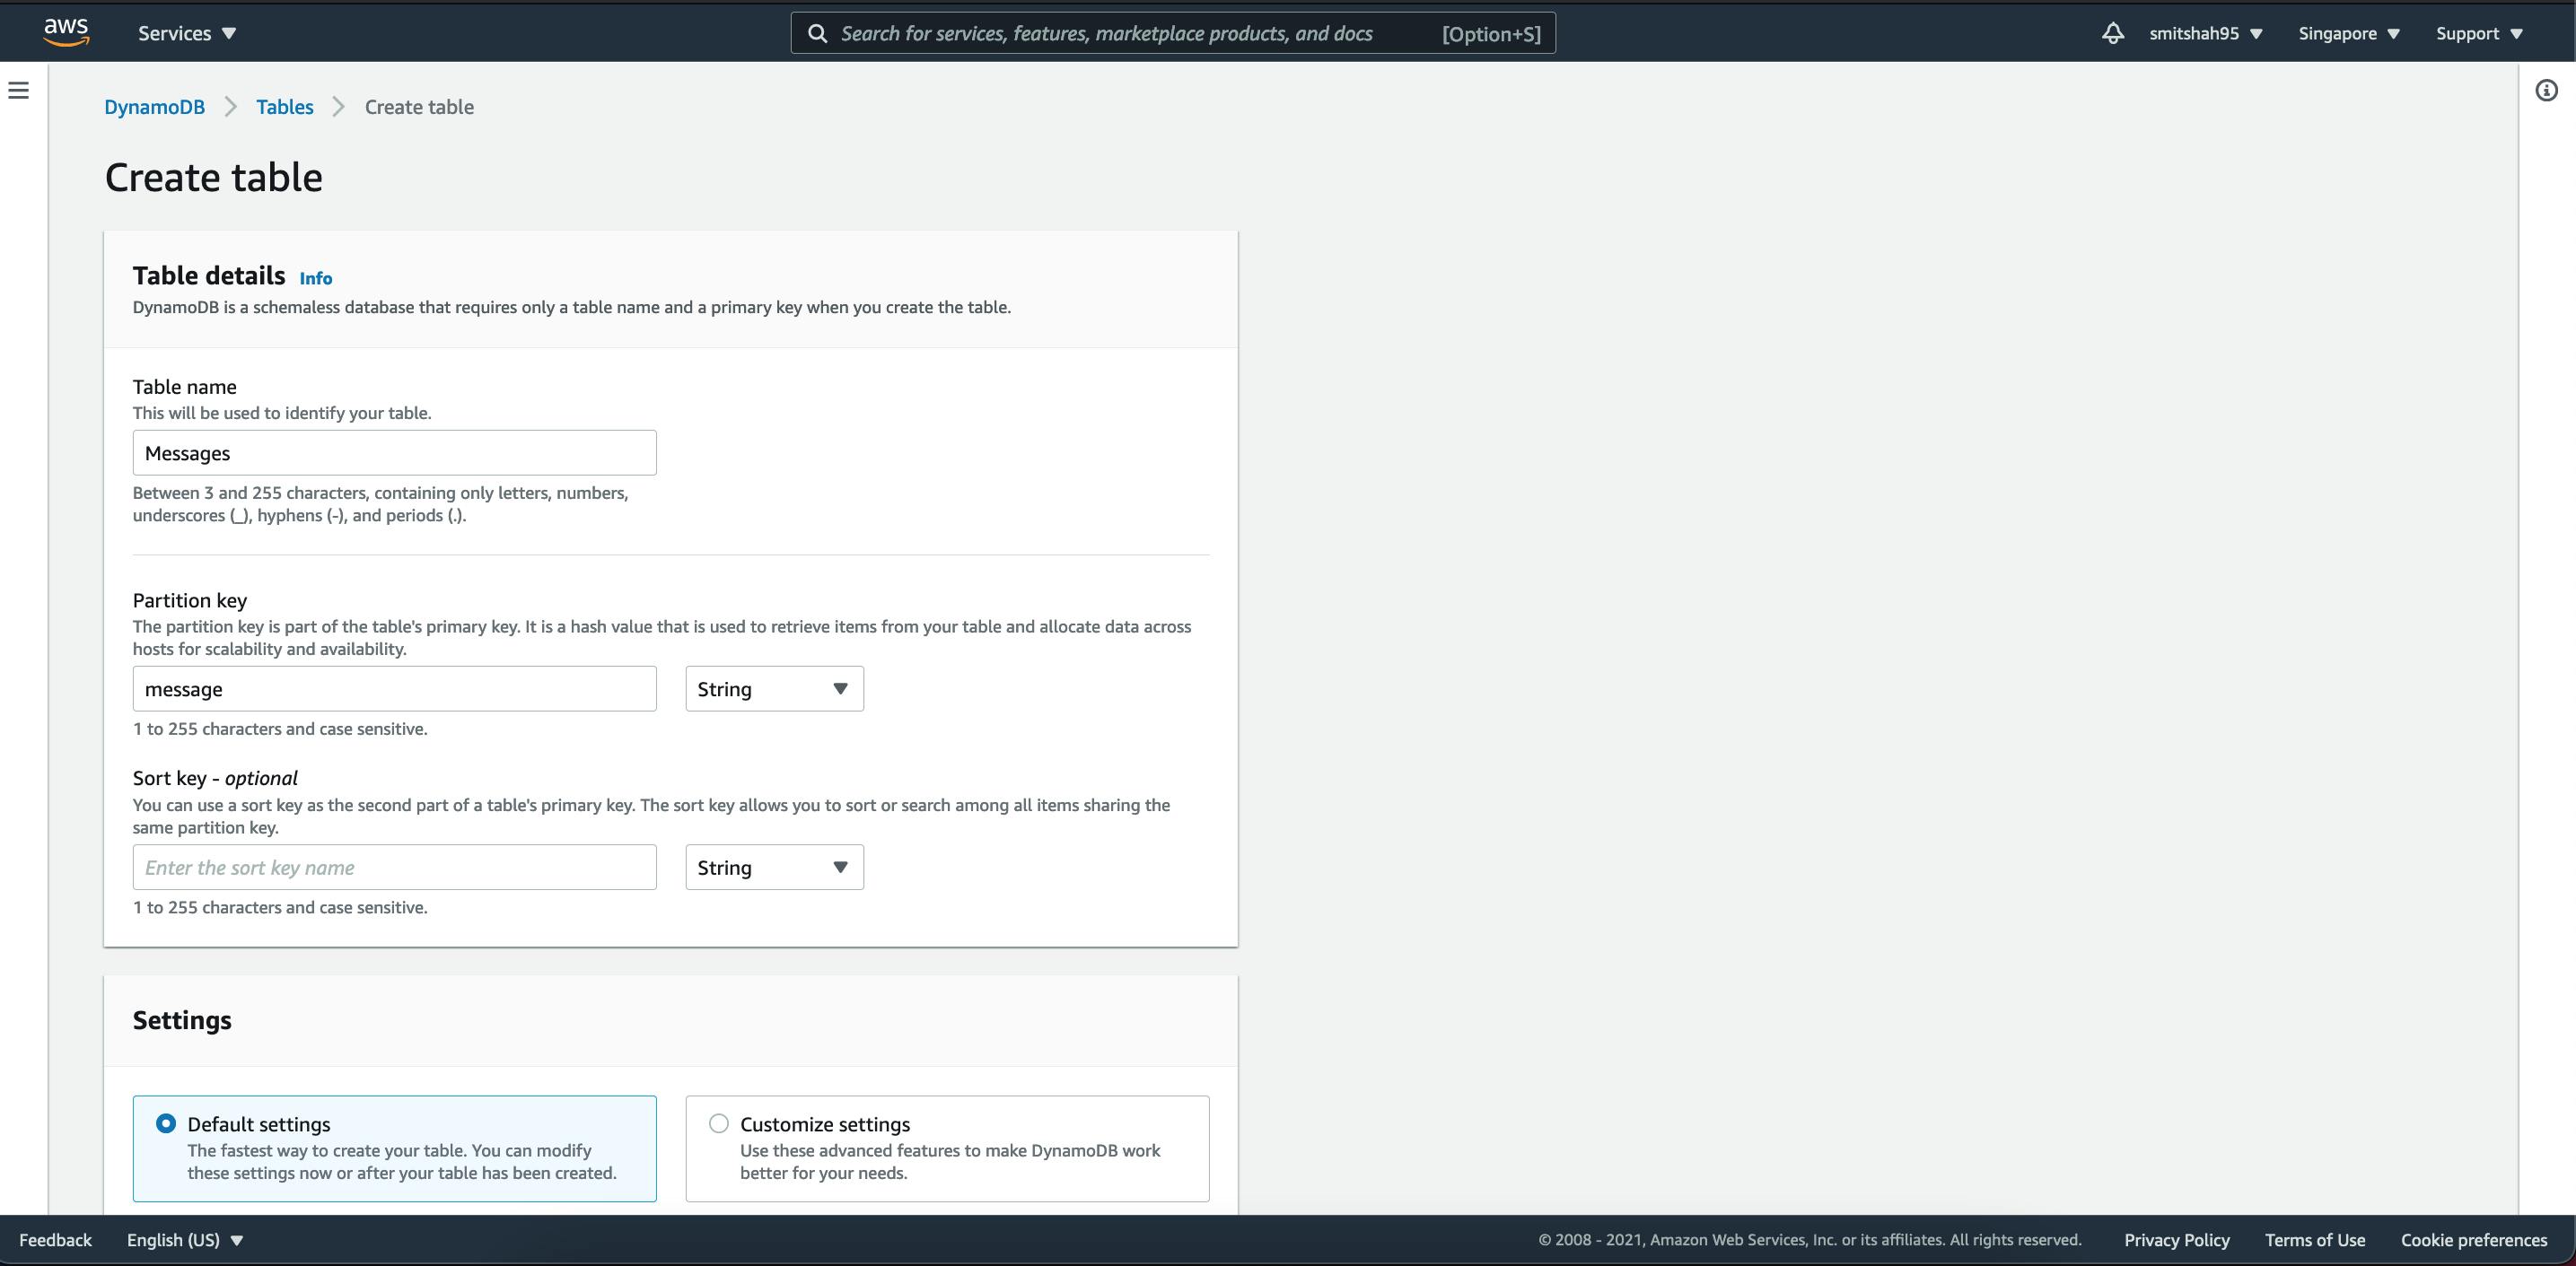
Let's log into the AWS console, we will begin with creating a DynamoDB table name Messages with a single column (partition key) named message.
DynamoDB Creation
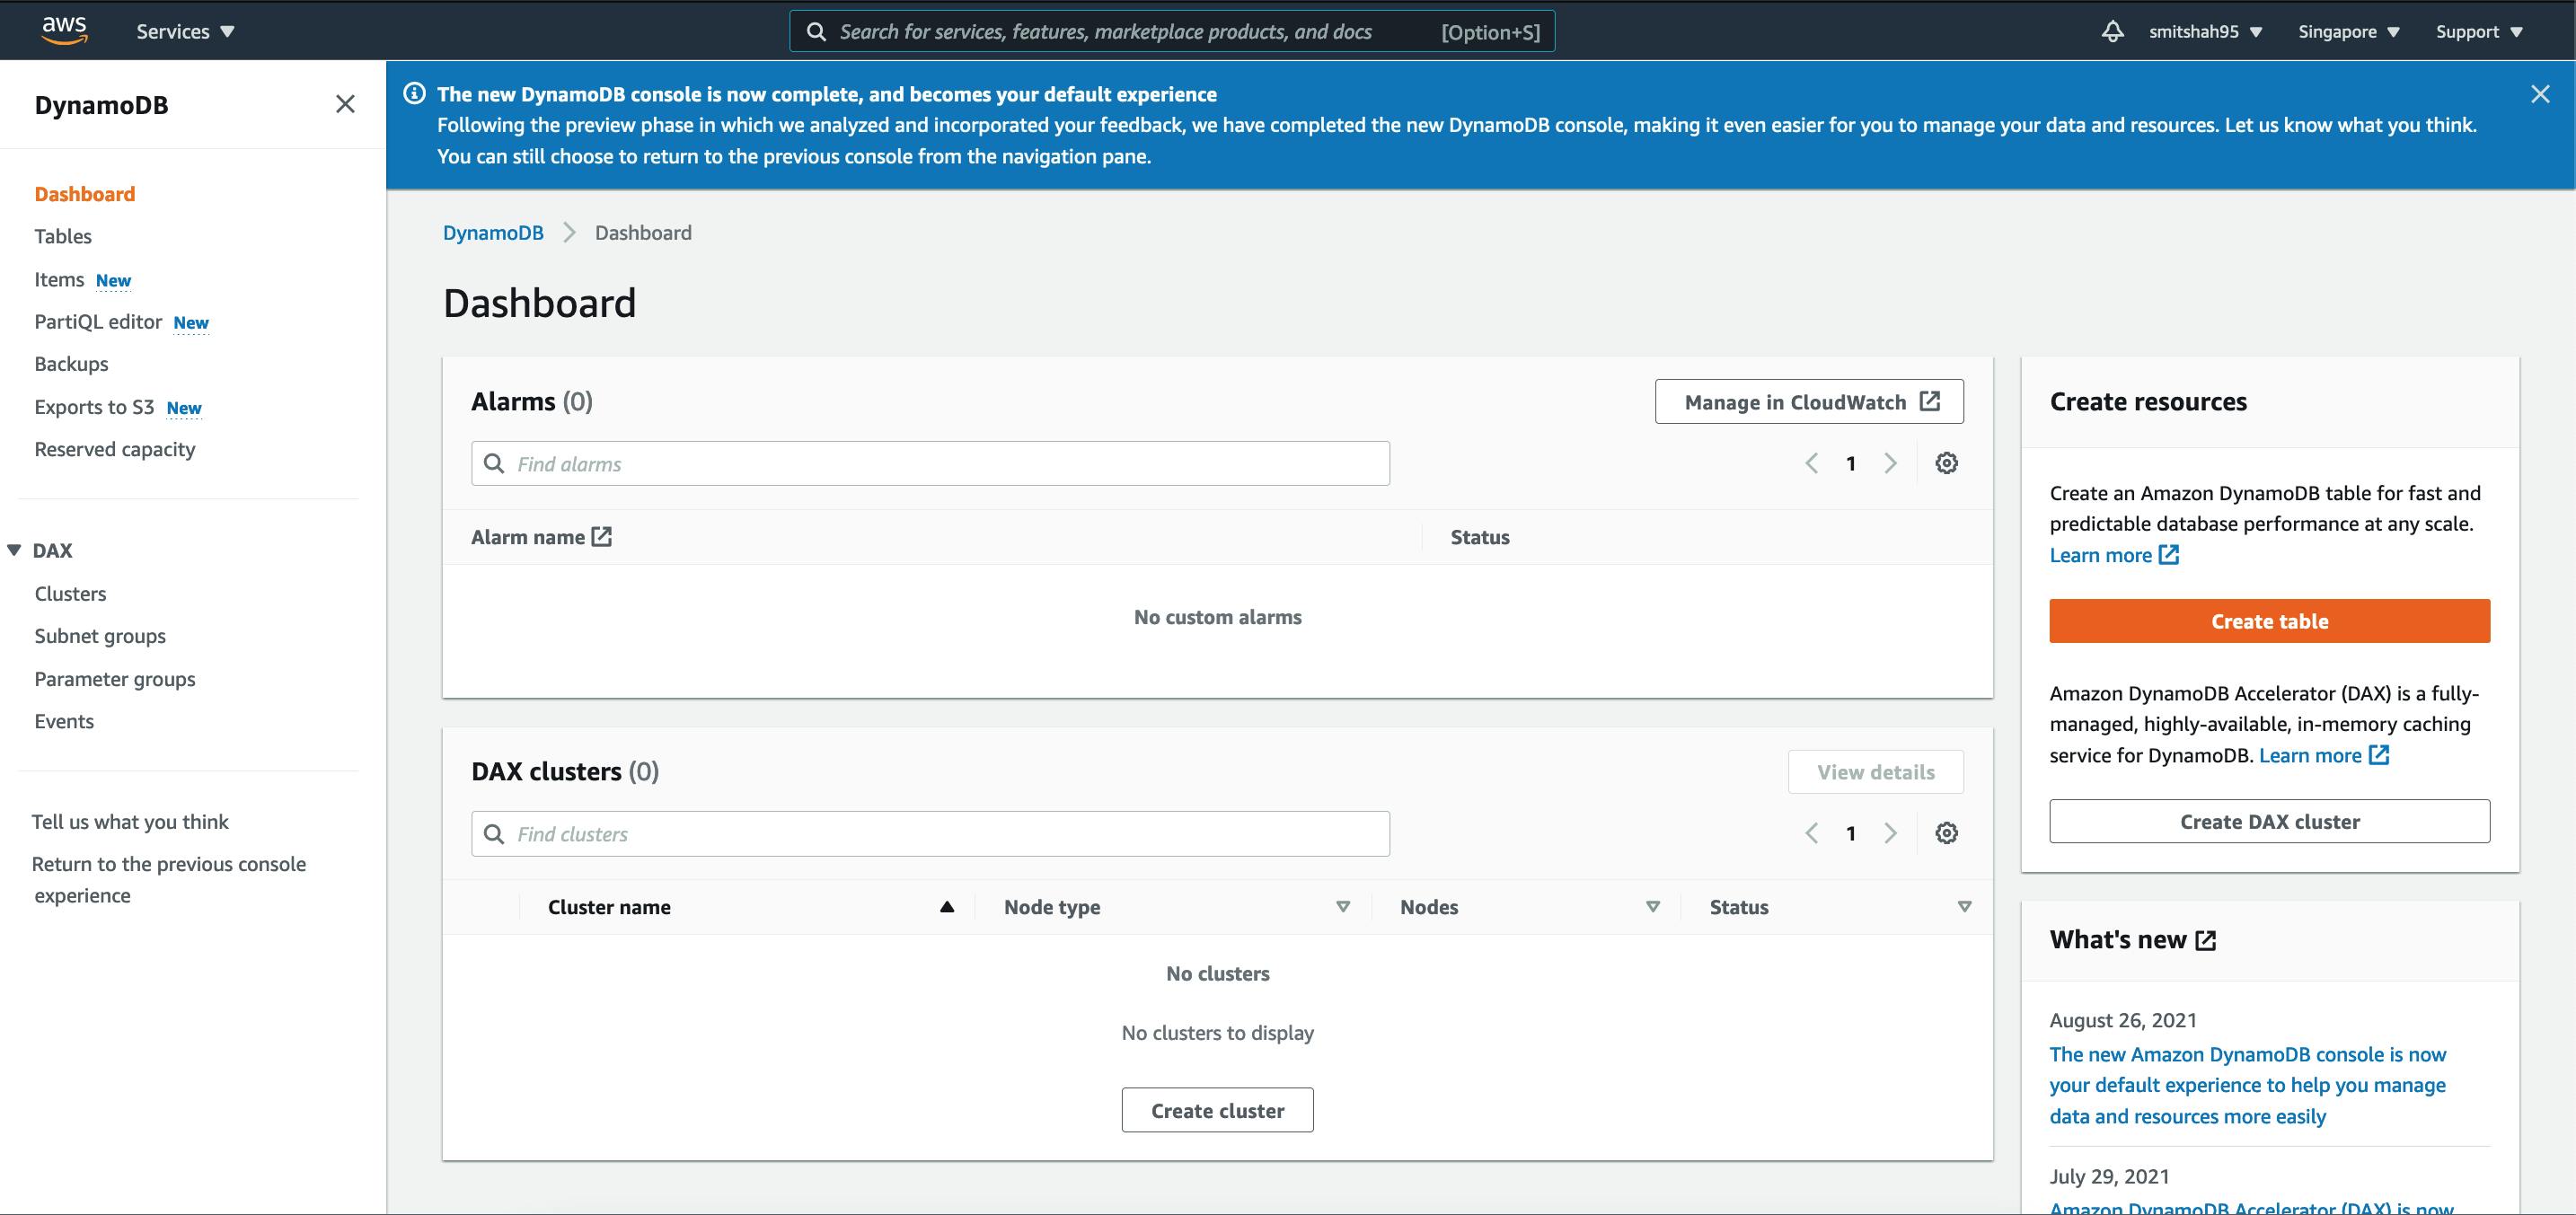
Lets go DynamoDB and create a db with table name Messages...
Lets create a column called partition key. As DynamoDB is a NoSQL, it basically can grow in columns, and the data it holds over time. As we will see in the later episodes by adding more data to the db. However the partition key cannot be changed once created as such, designing and identifying a correct partition key is important.
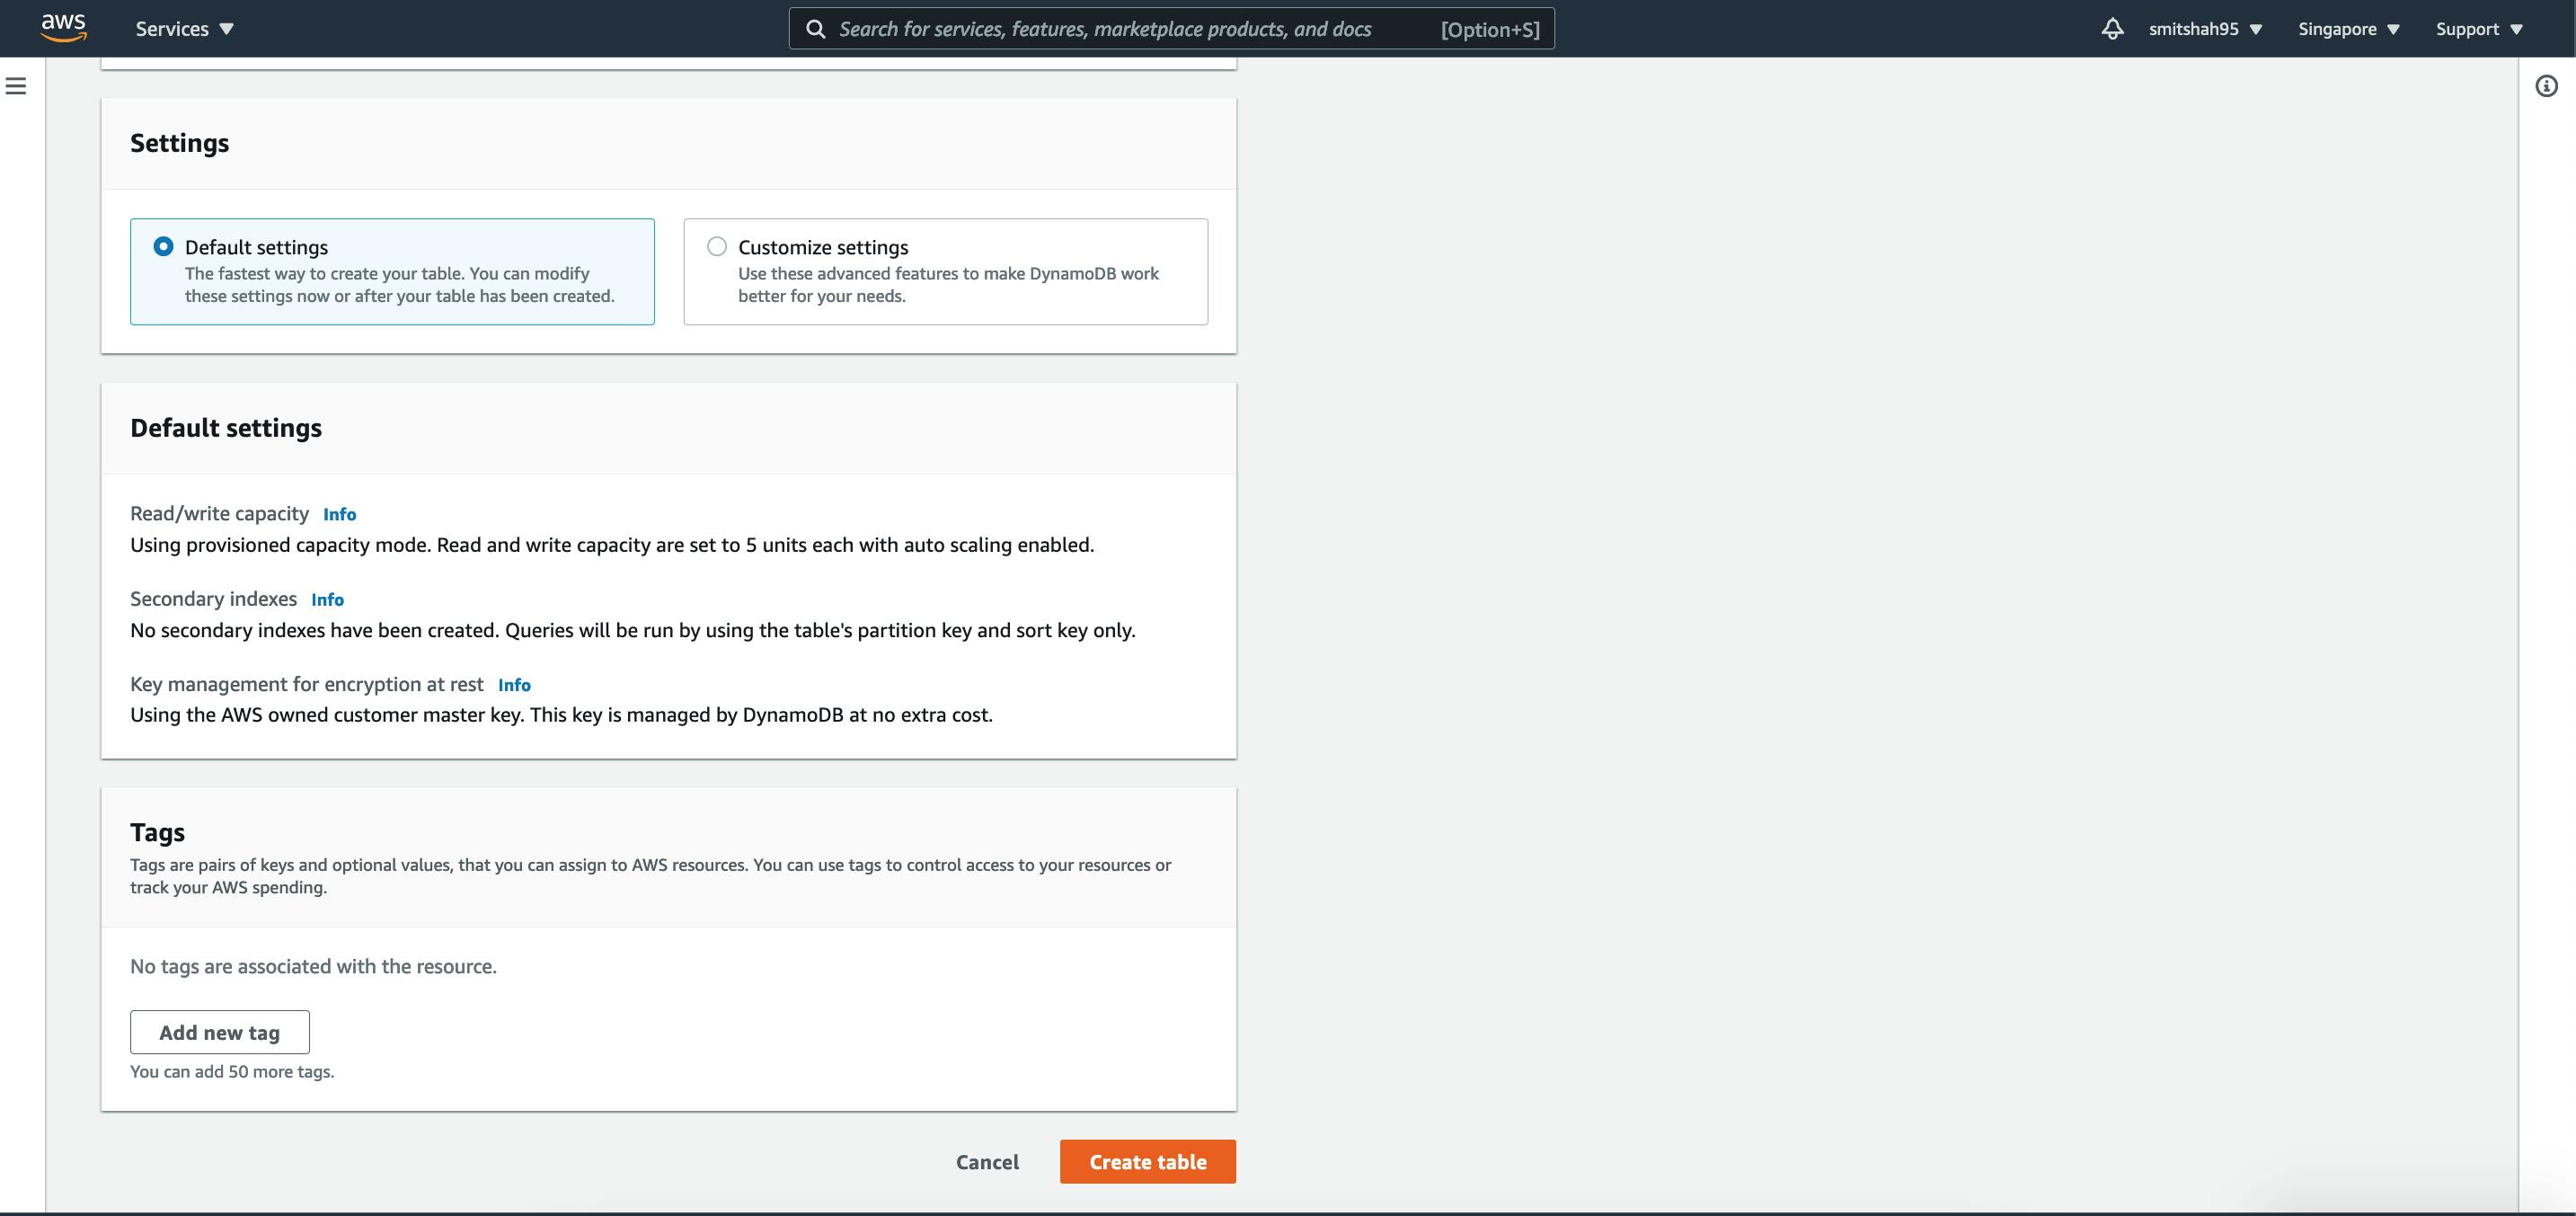
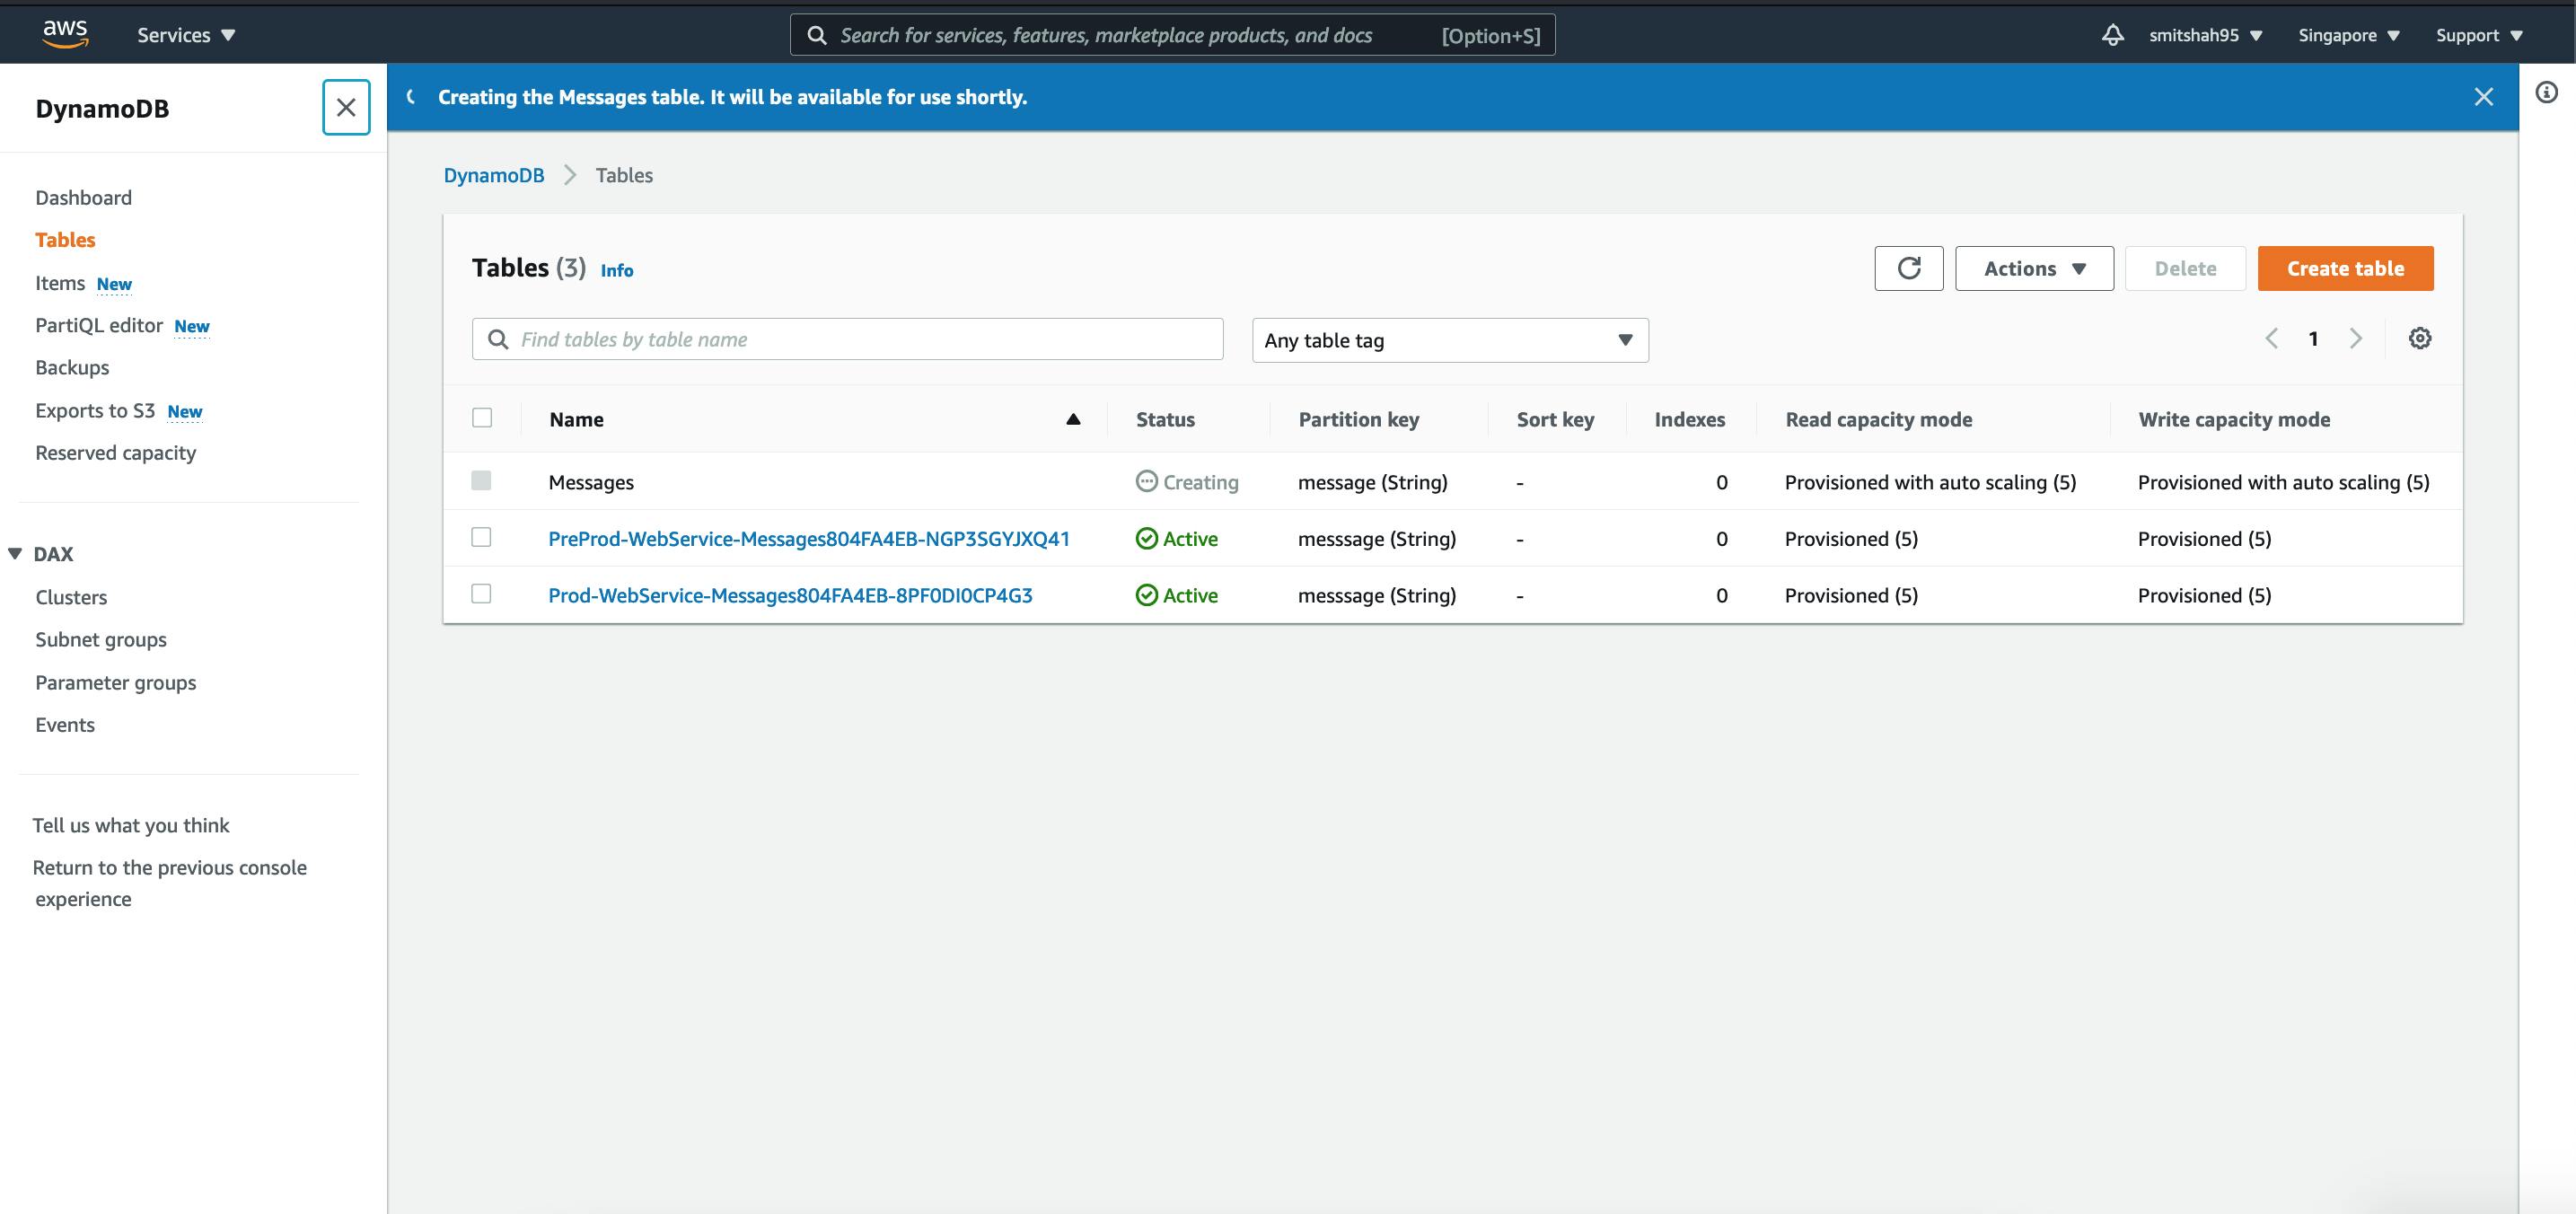
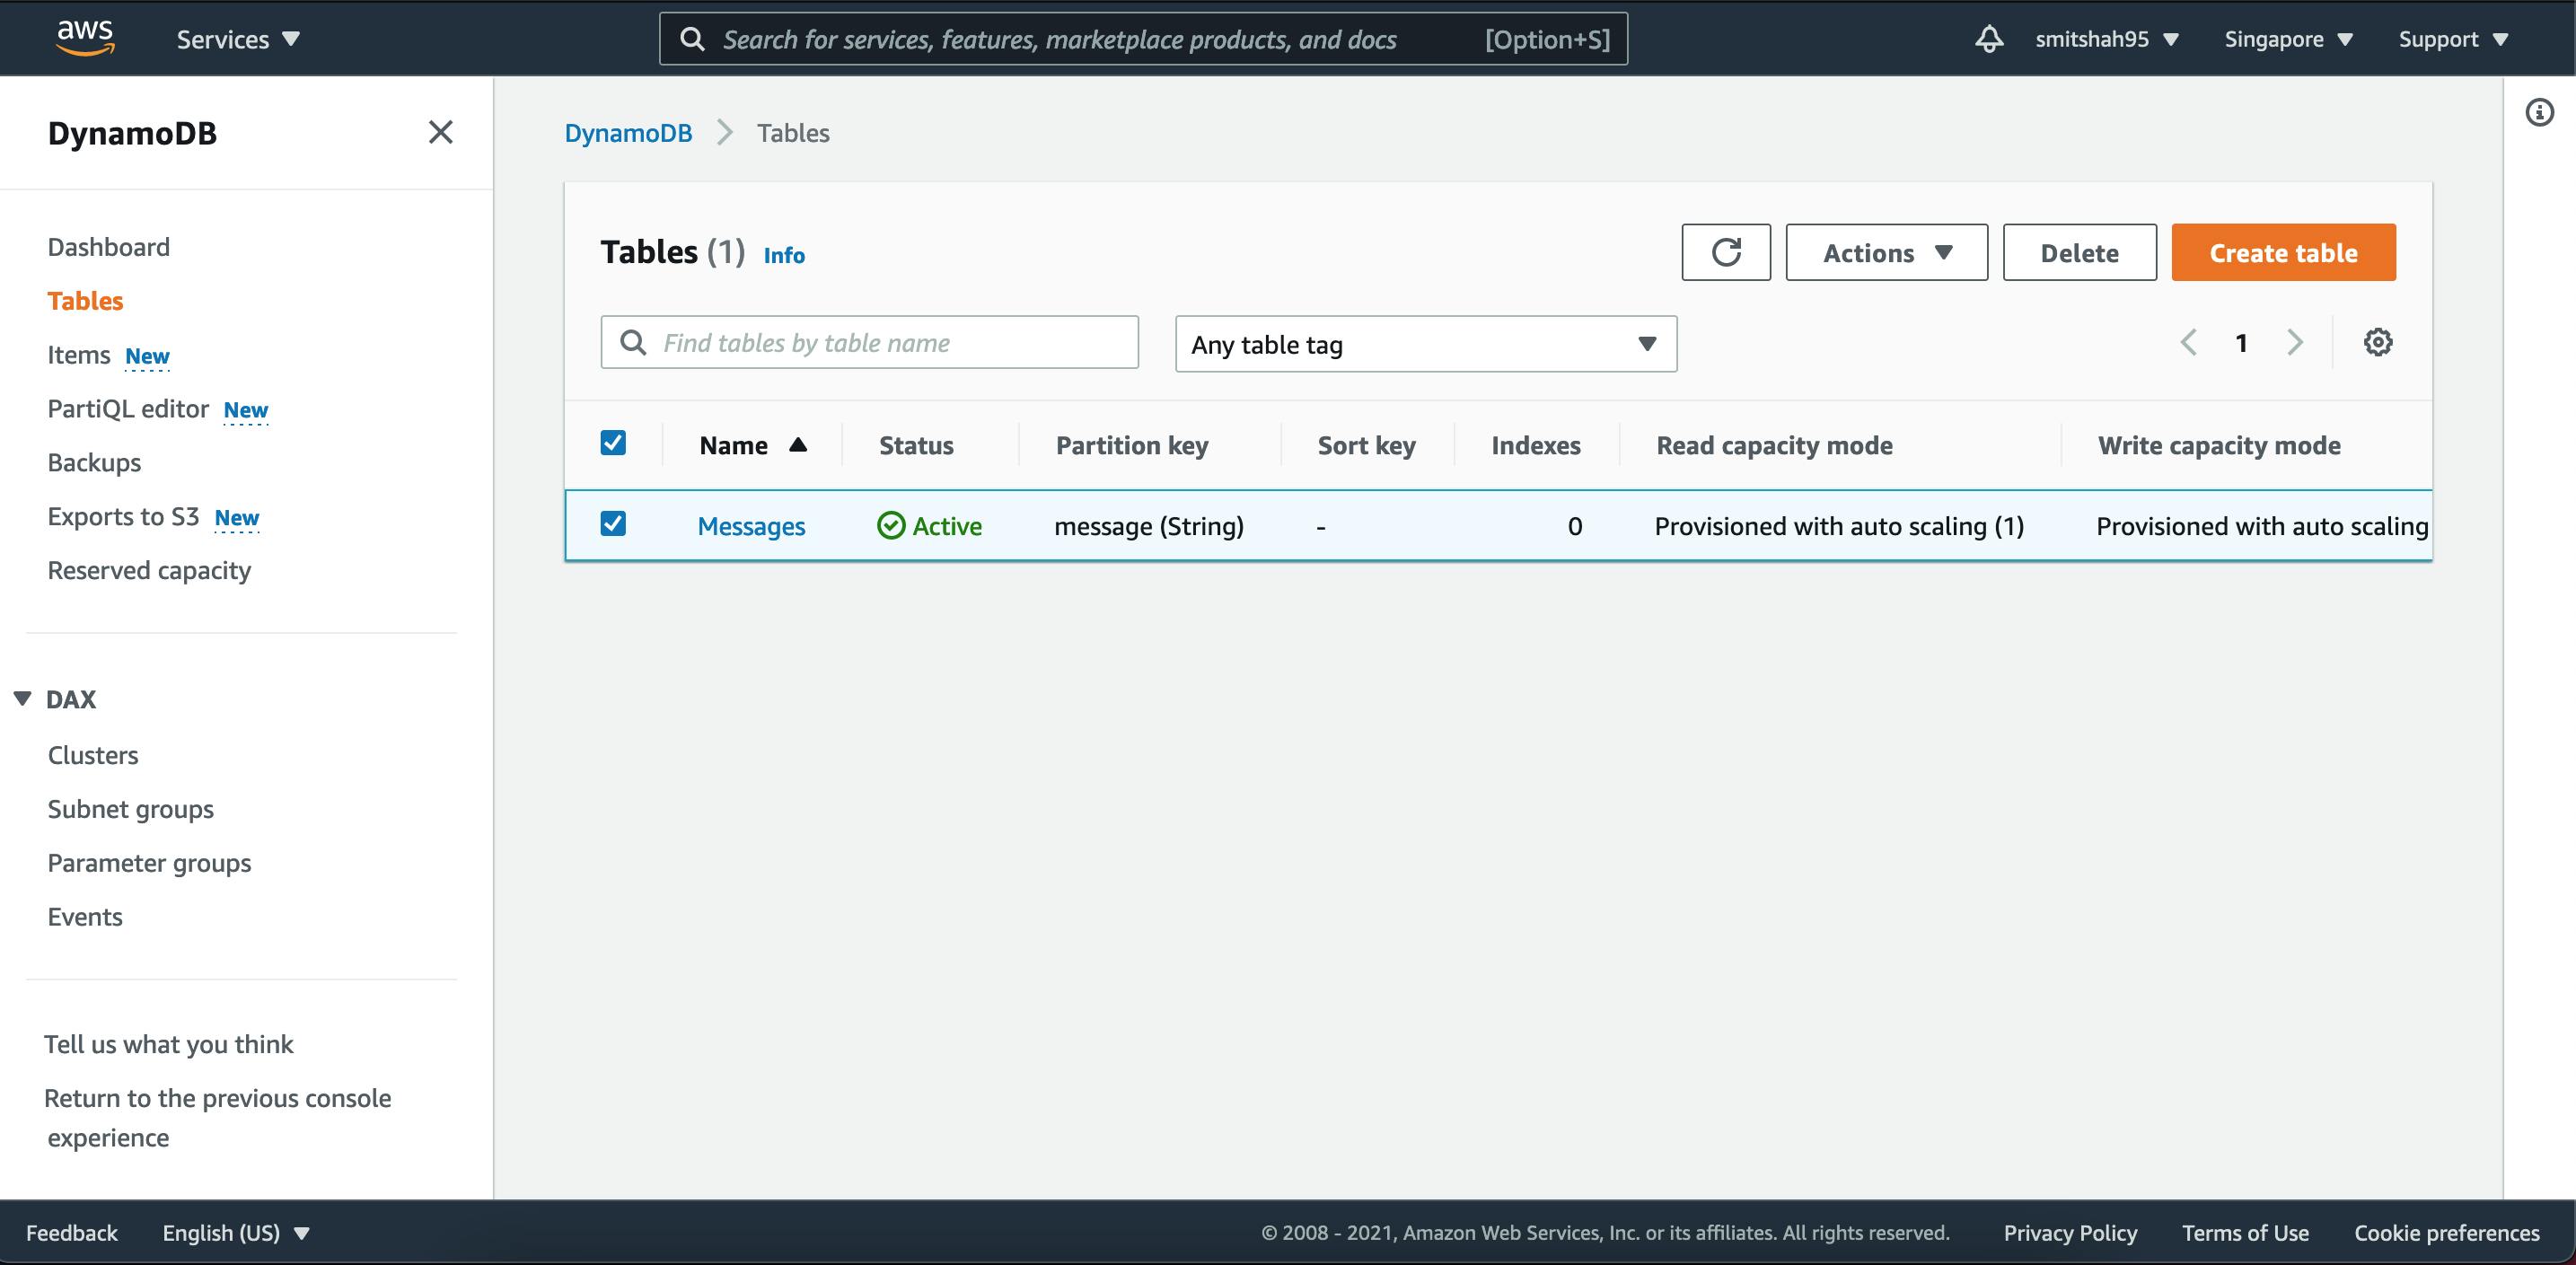
Once created, you will see the table in creation in-progress just like below:
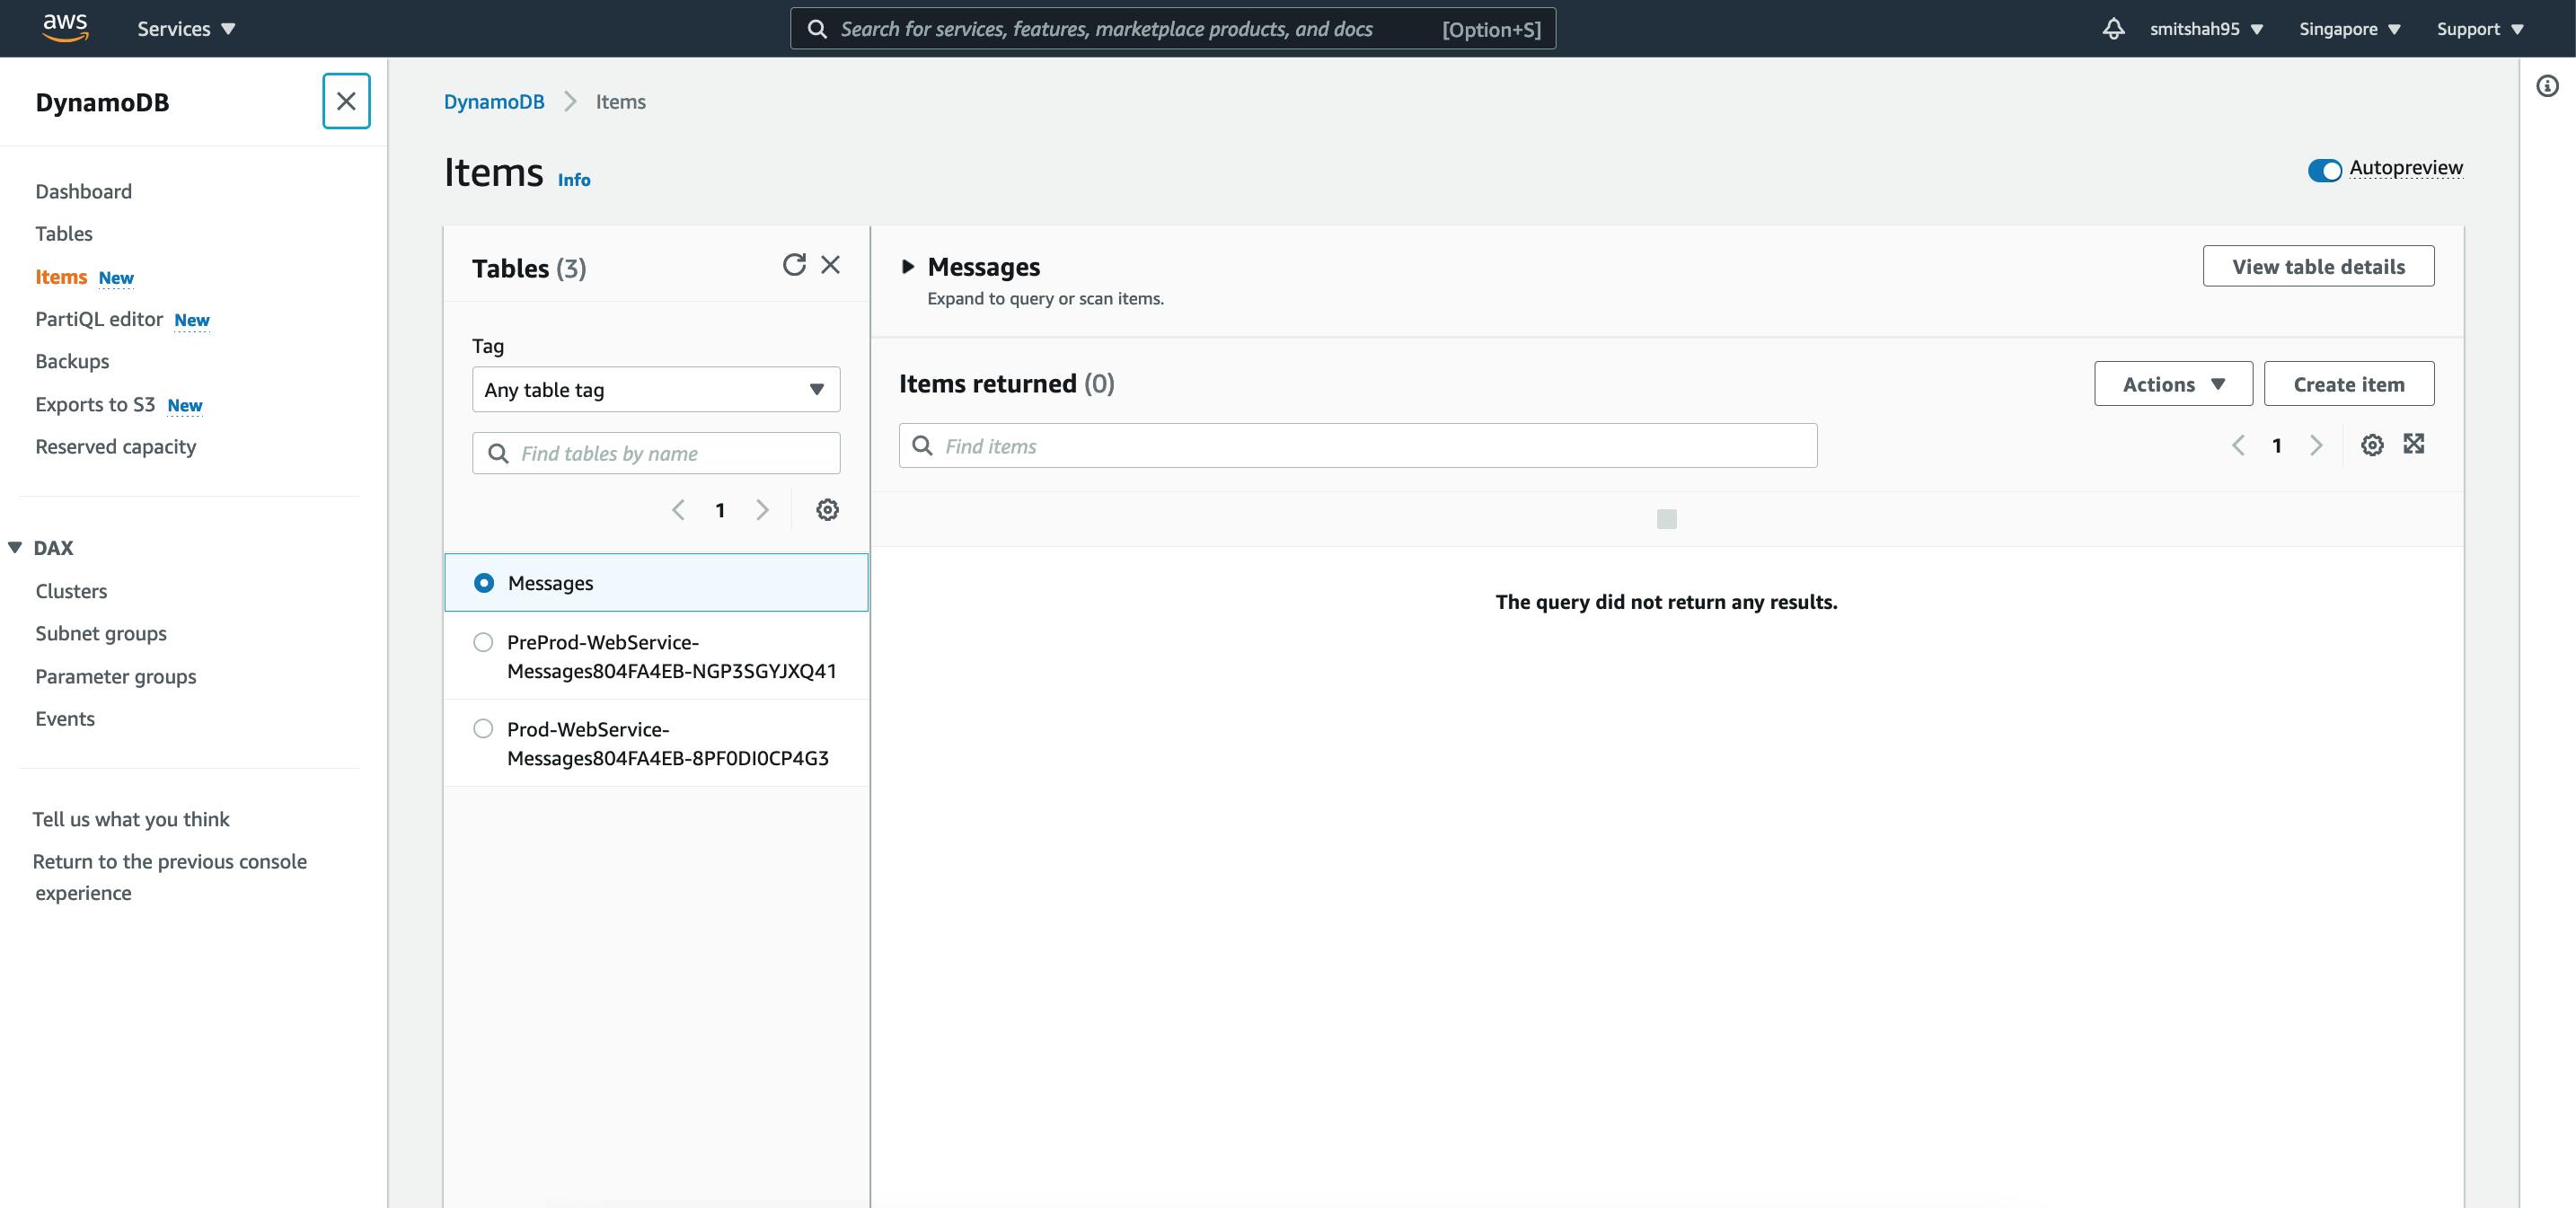
Lets now go to the items tab from the left menu, and select the table we just created, Messages and then you can click on Create item on the right hand side:
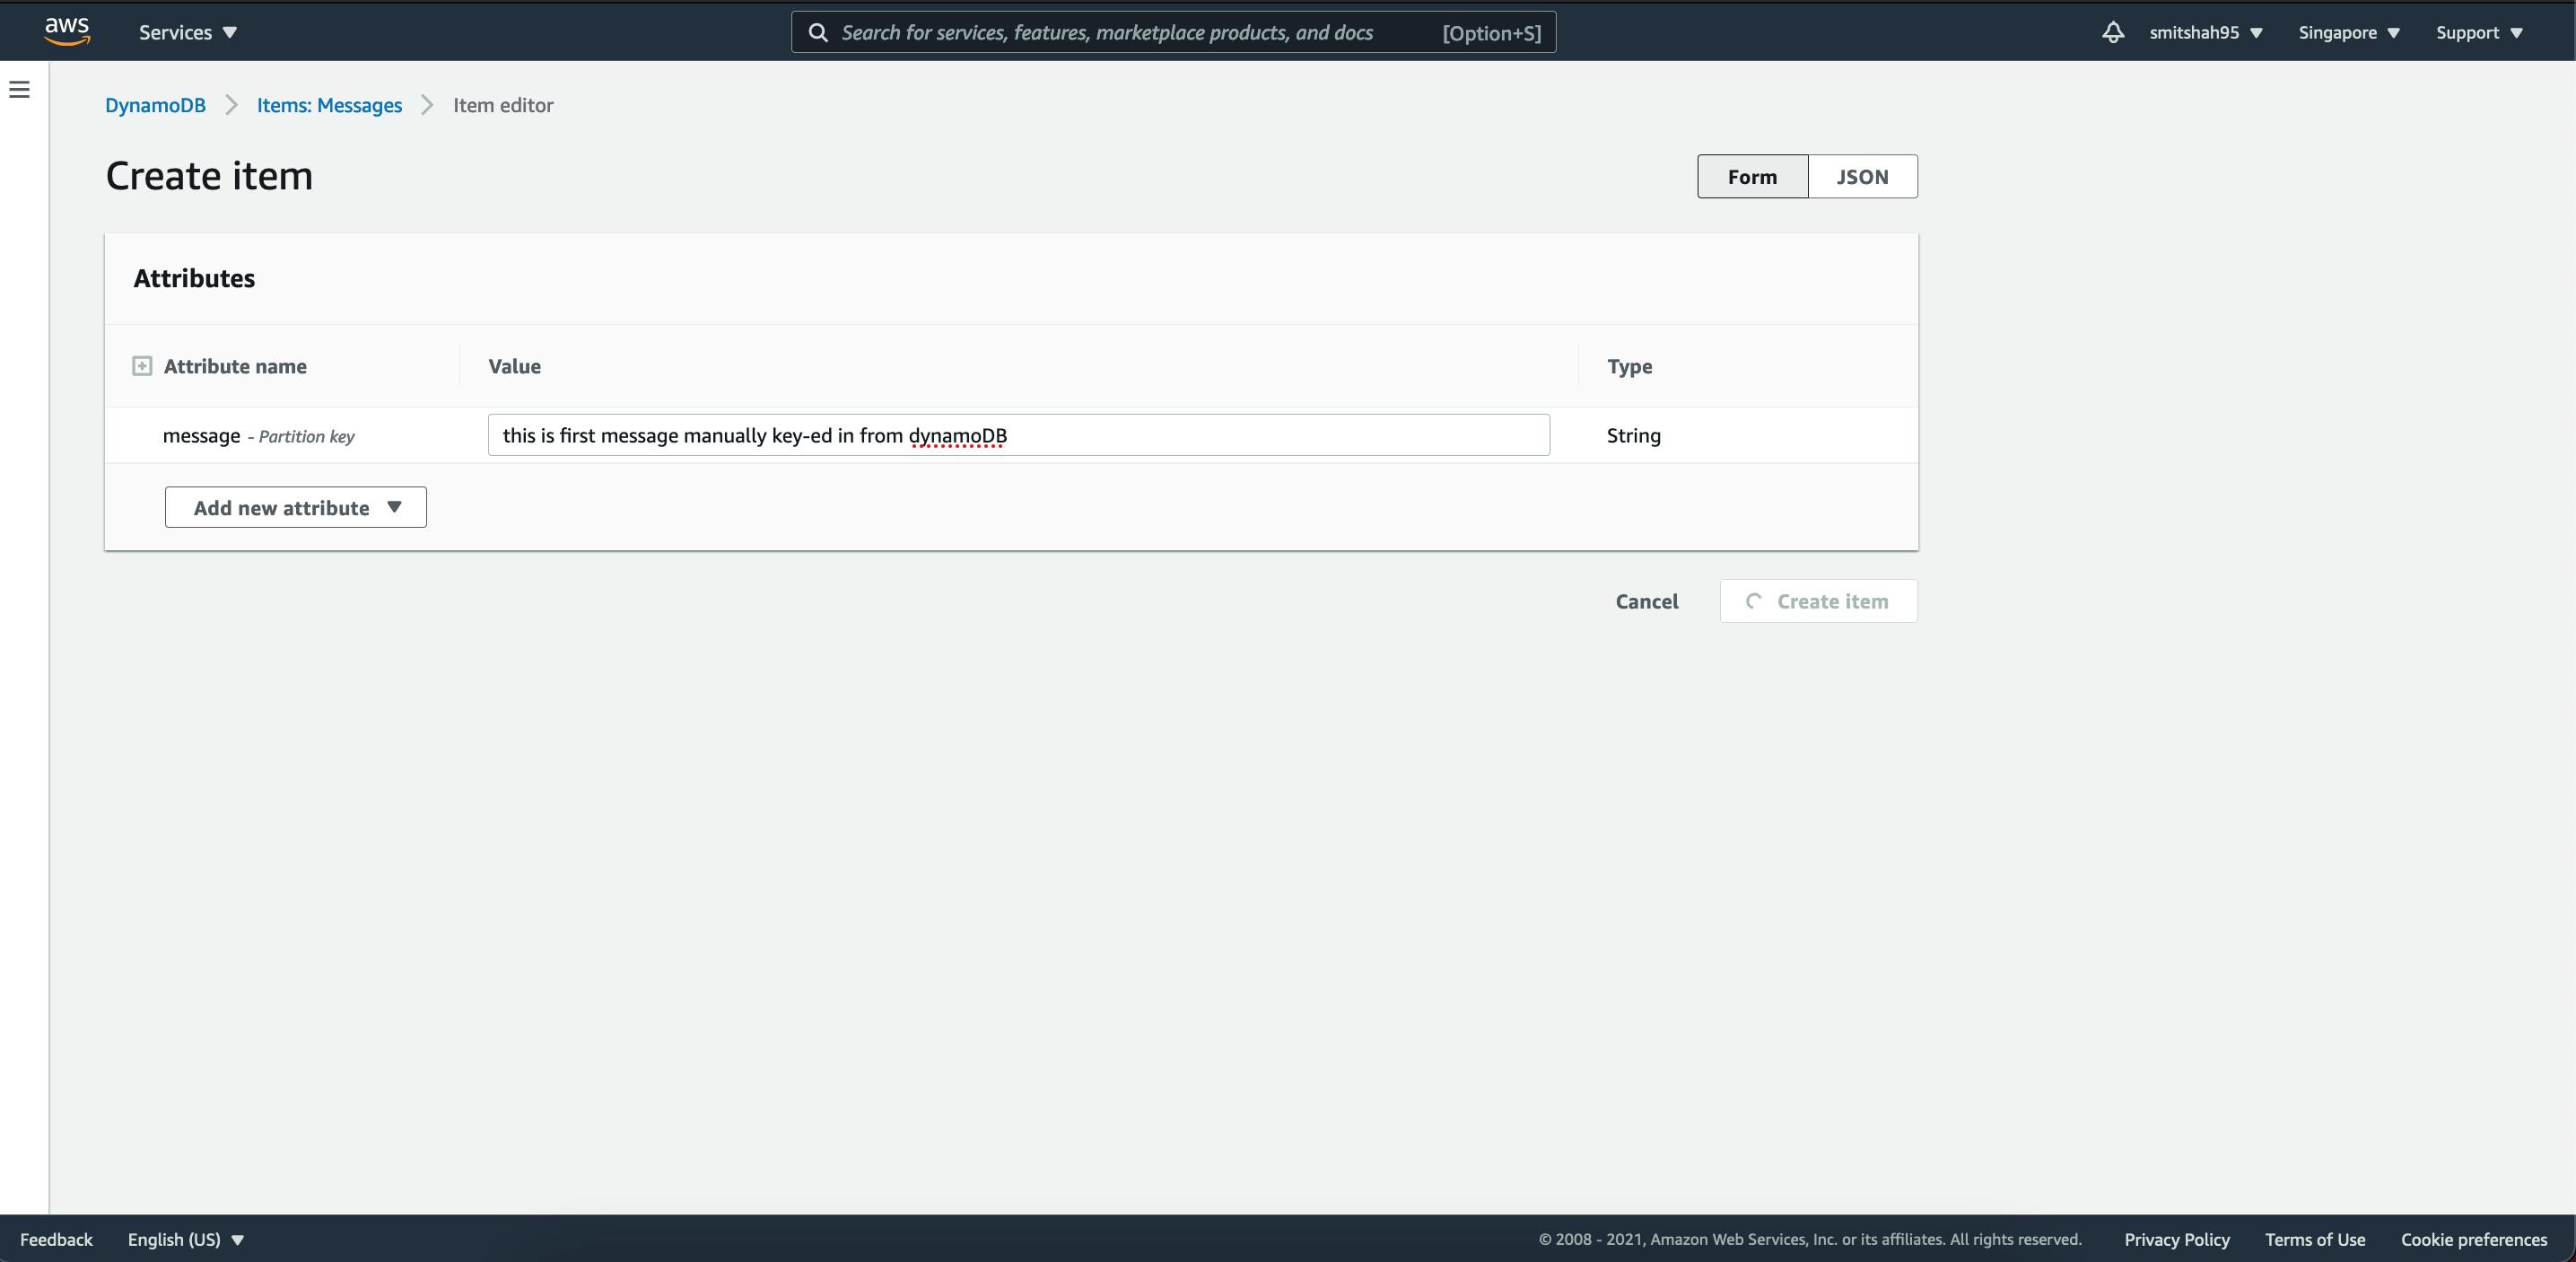
Lets add a message, this is first message manually key-ed in from dynamoDB
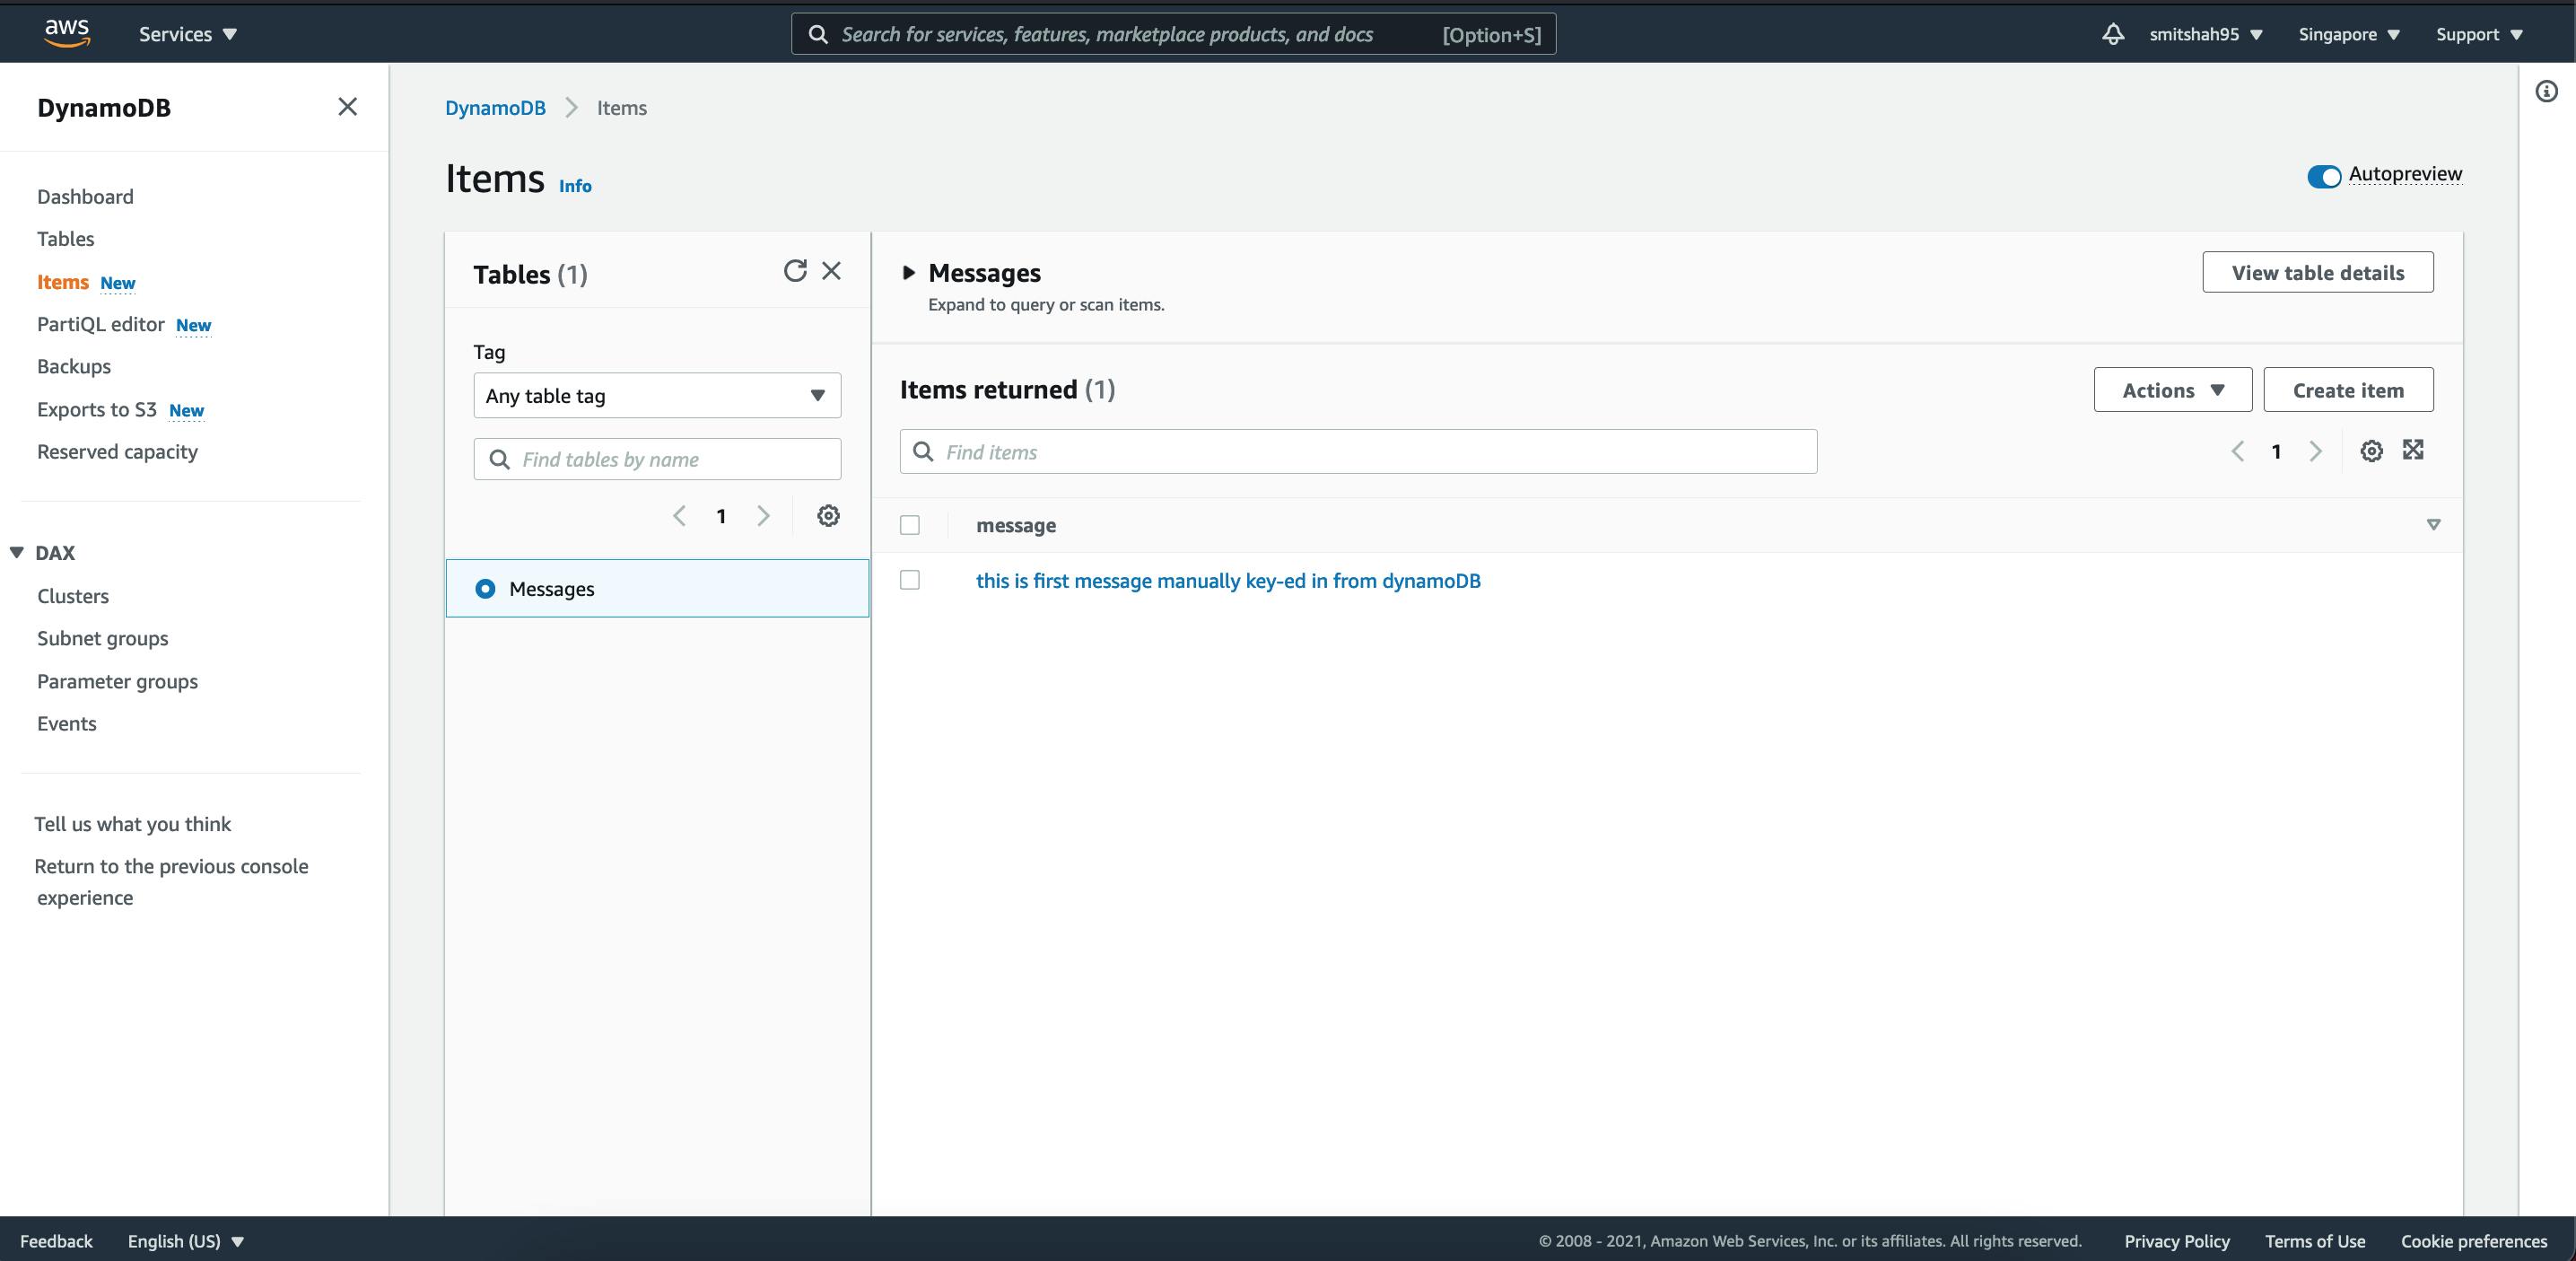
After adding, you should see the message in the list:
Lambda Function Creation
Lets create a Lambda function that will get all the data from the dynamoDB and return.
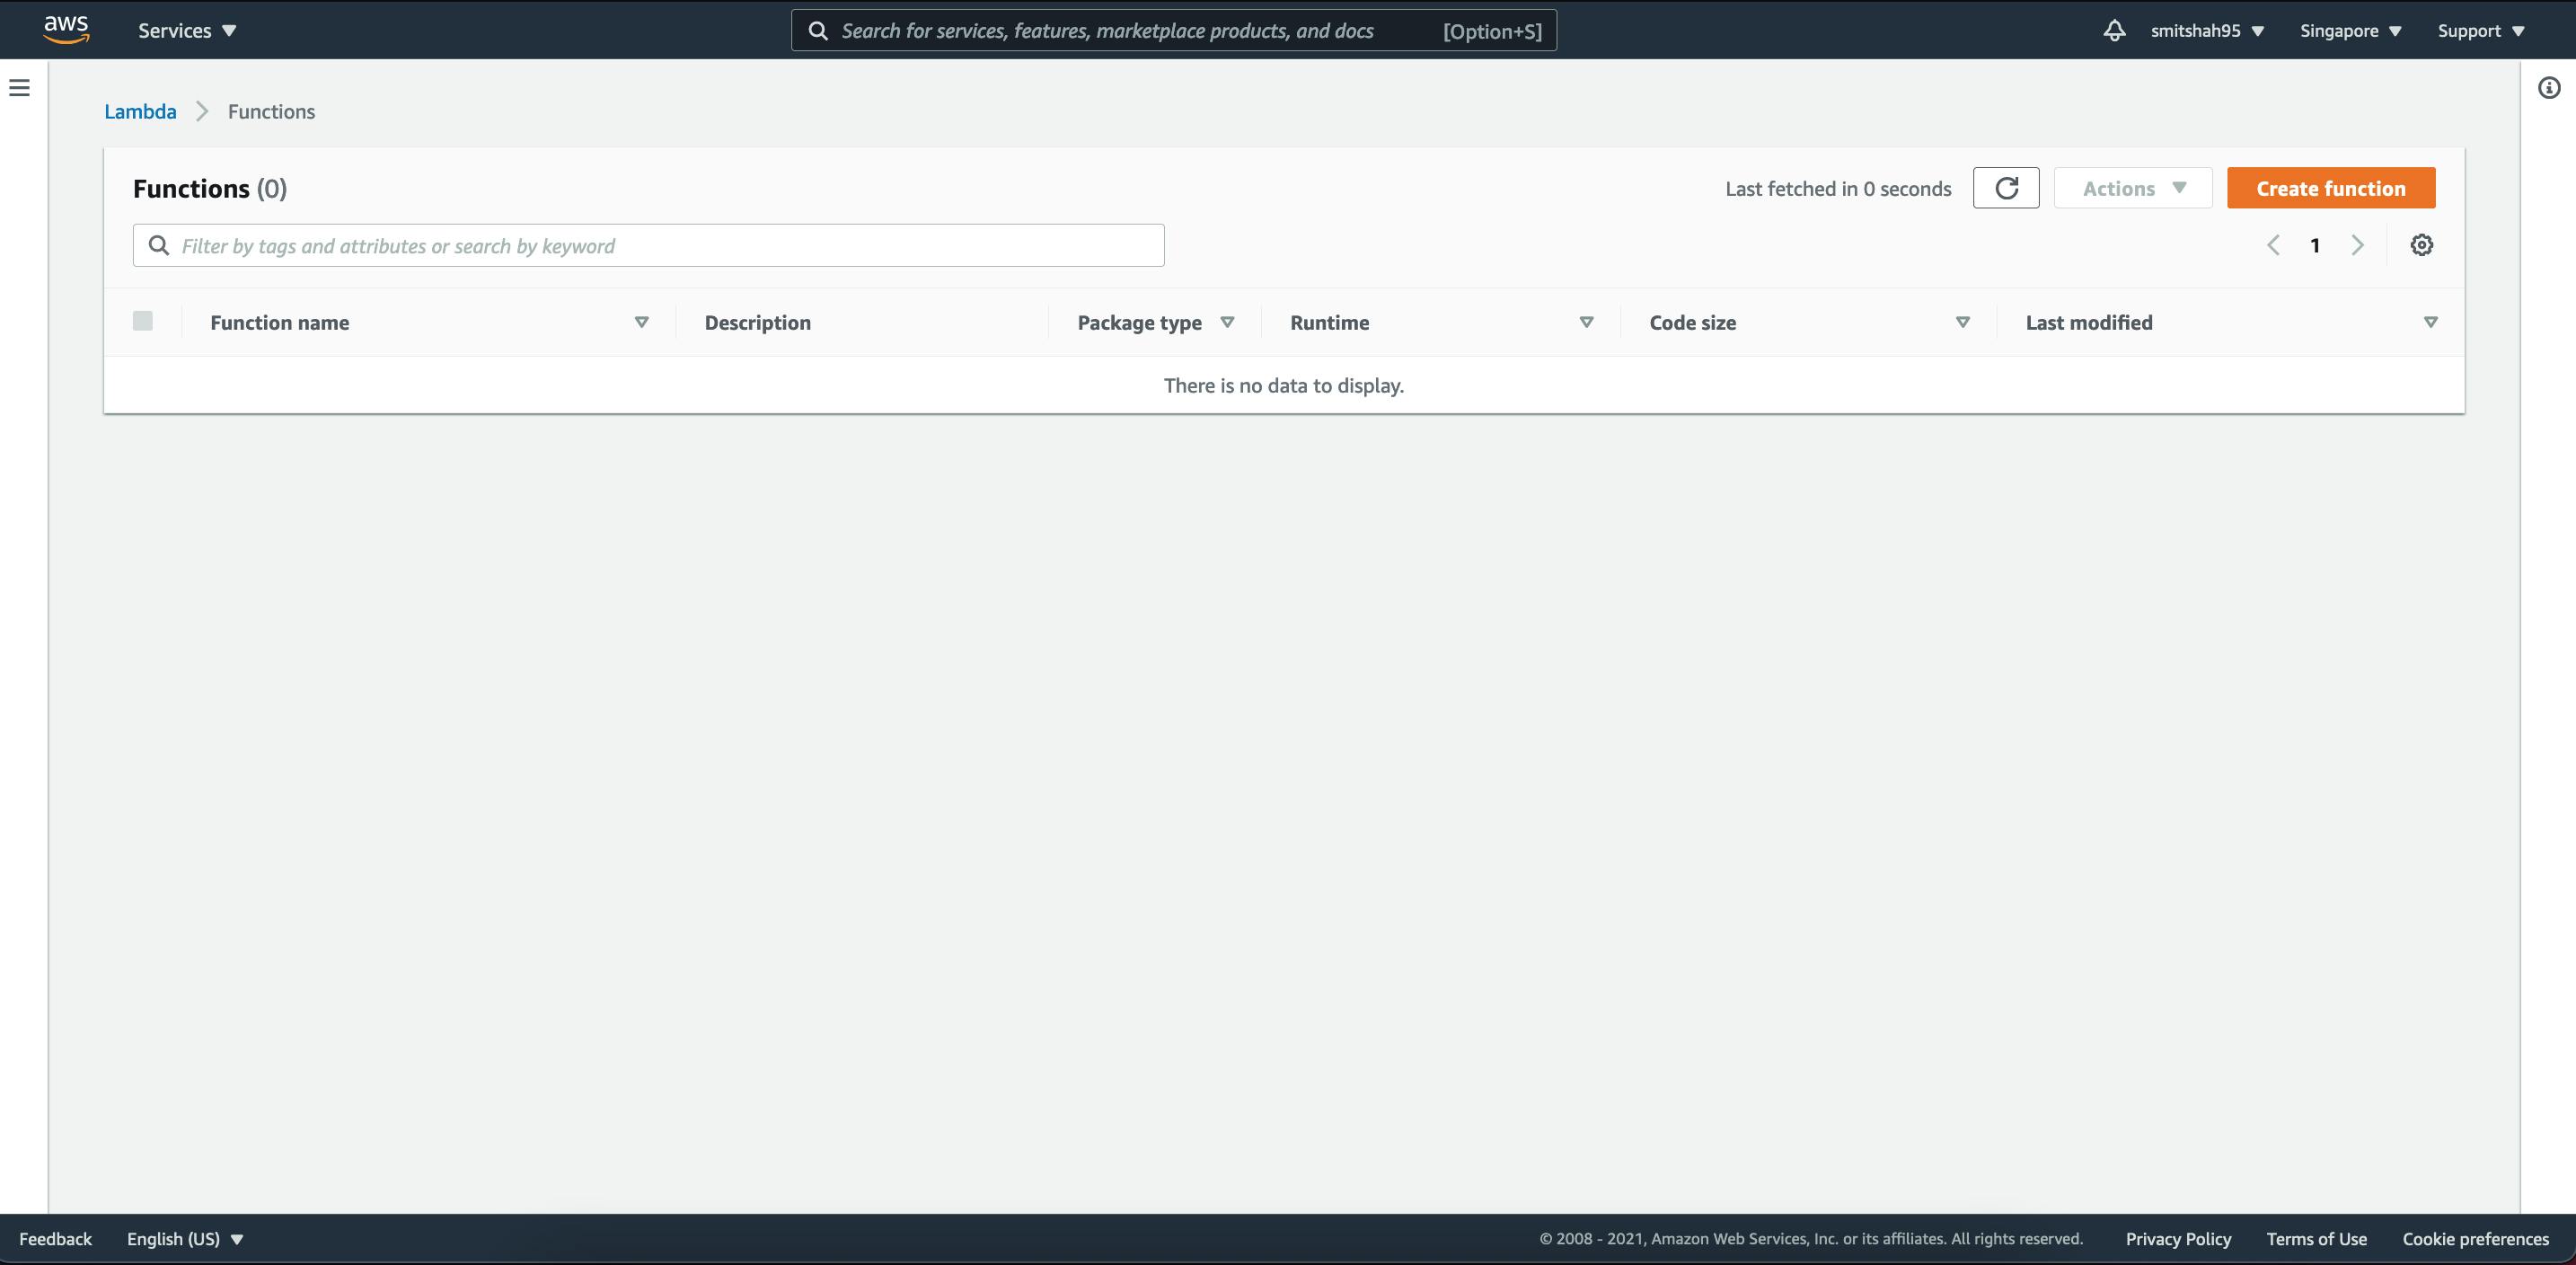
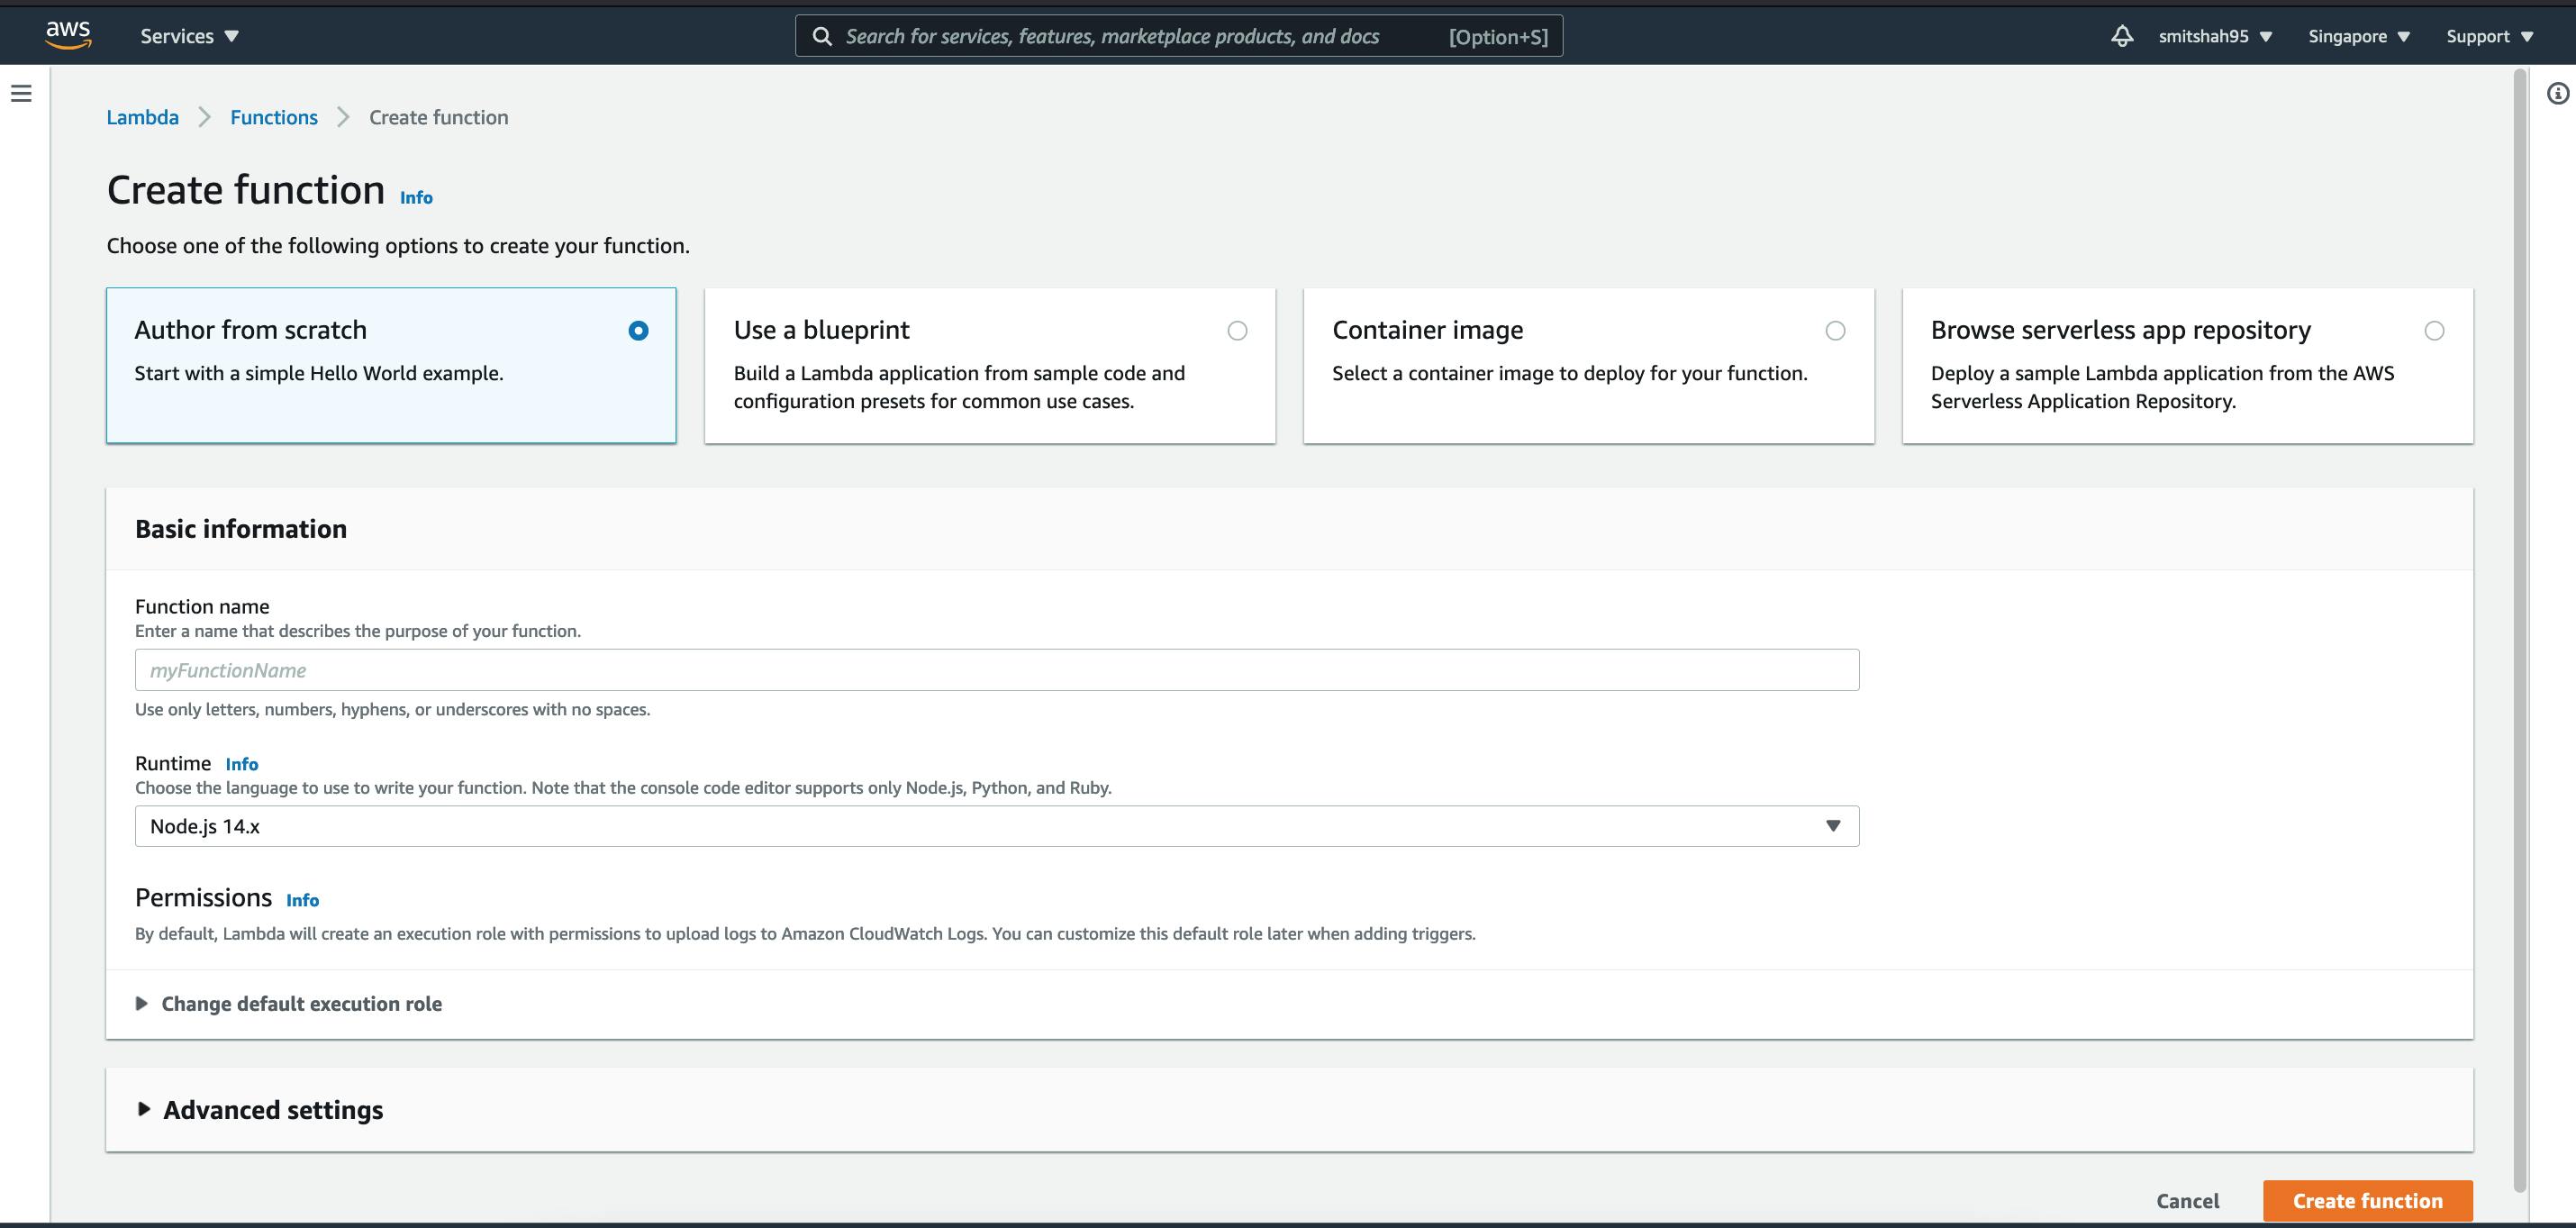
Lets go to Lambda and Creation Function:
Let us name the function, MyReadLambda and select the language Python 3.8 and create the function
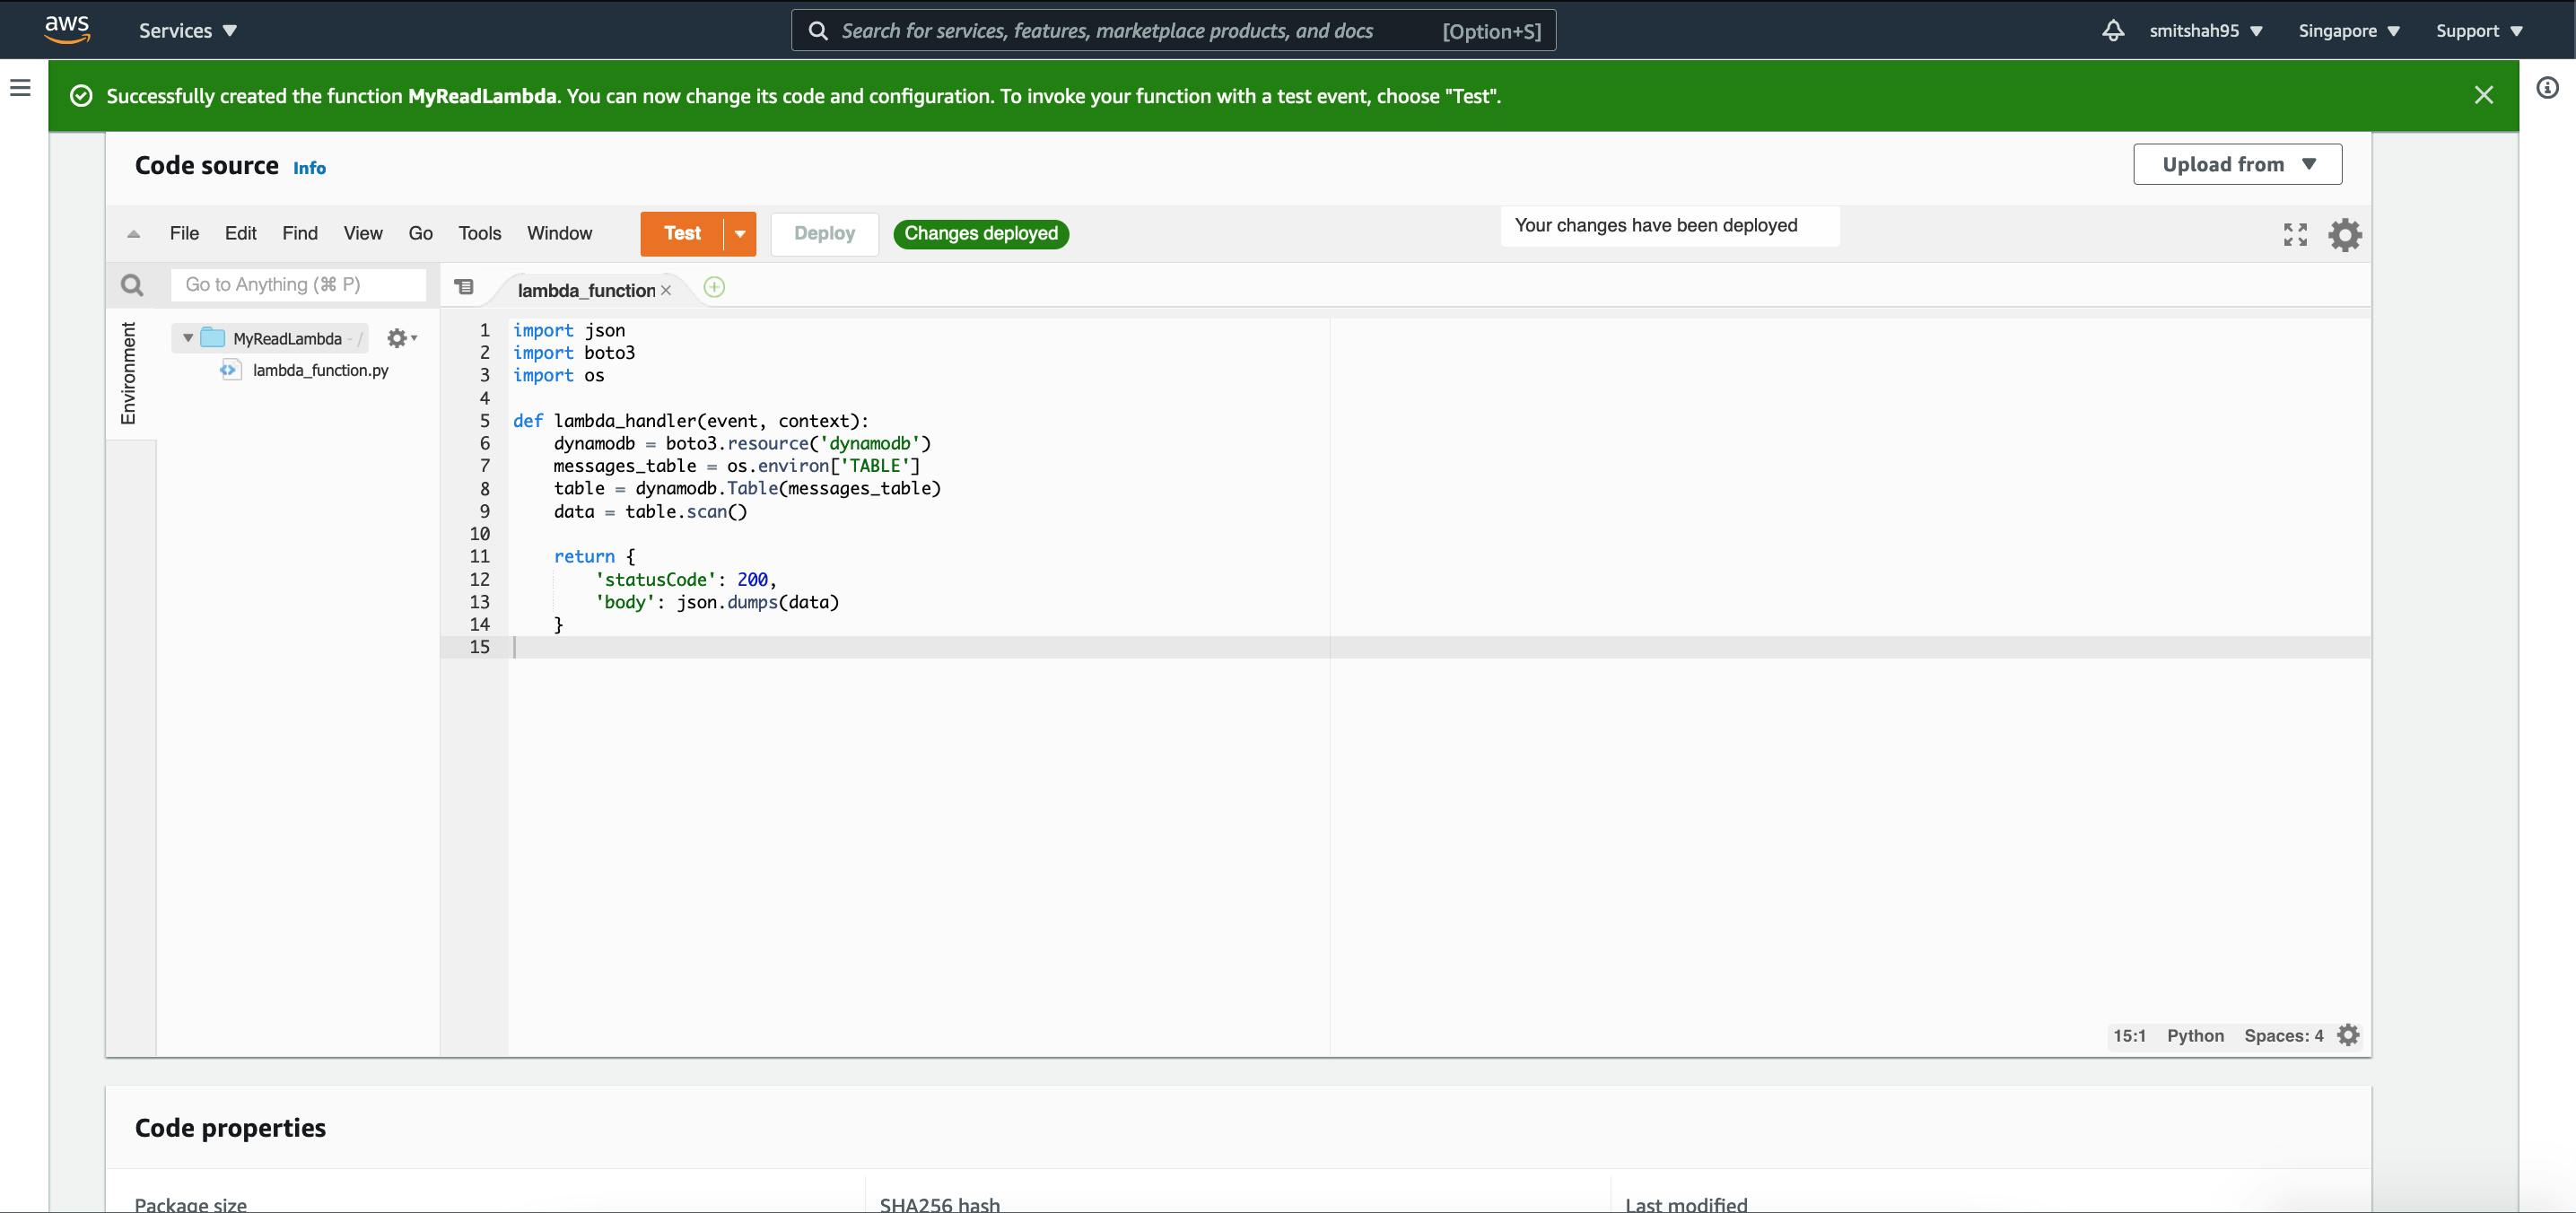
Paste the below code, and select Deploy
import json
import boto3
import os

def lambda_handler(event, context):
    dynamodb = boto3.resource('dynamodb')
    messages_table = "Messages"
    table = dynamodb.Table(messages_table)
    data = table.scan()

    return {
        'statusCode': 200,
        'body': json.dumps(data)
    }
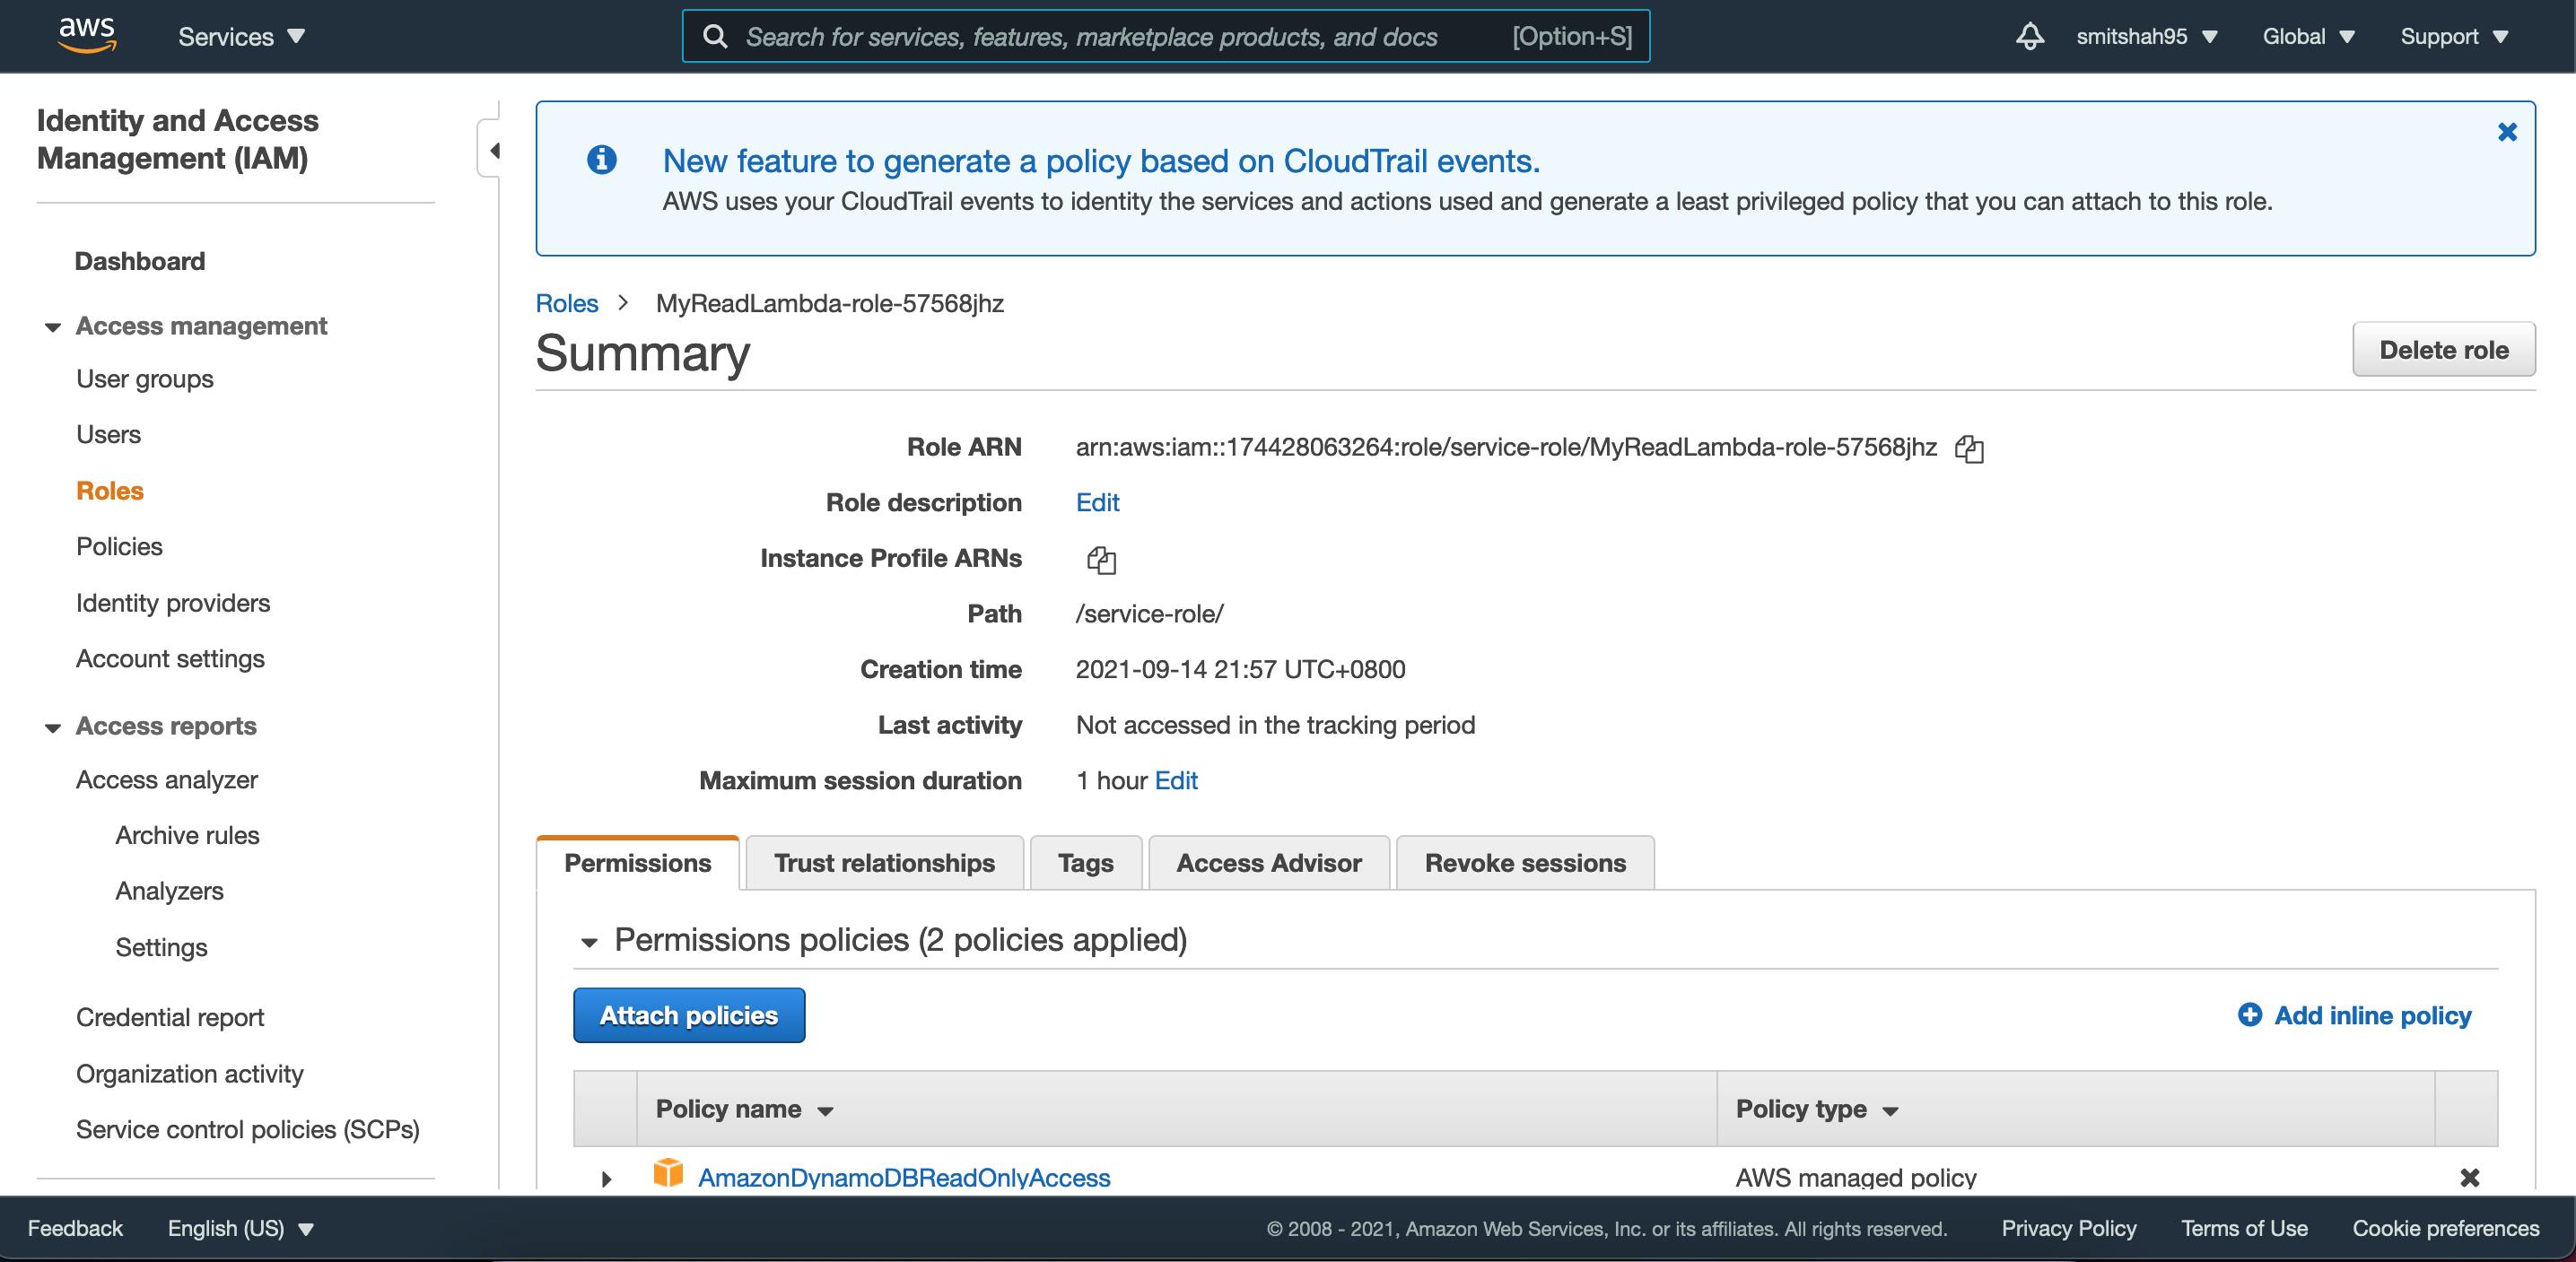
One more step before we could test, lets update the permission to allow the Lambda to scan DynamoDB. You need to go to Configuration tab and select the Role name that will redirect you to IAM
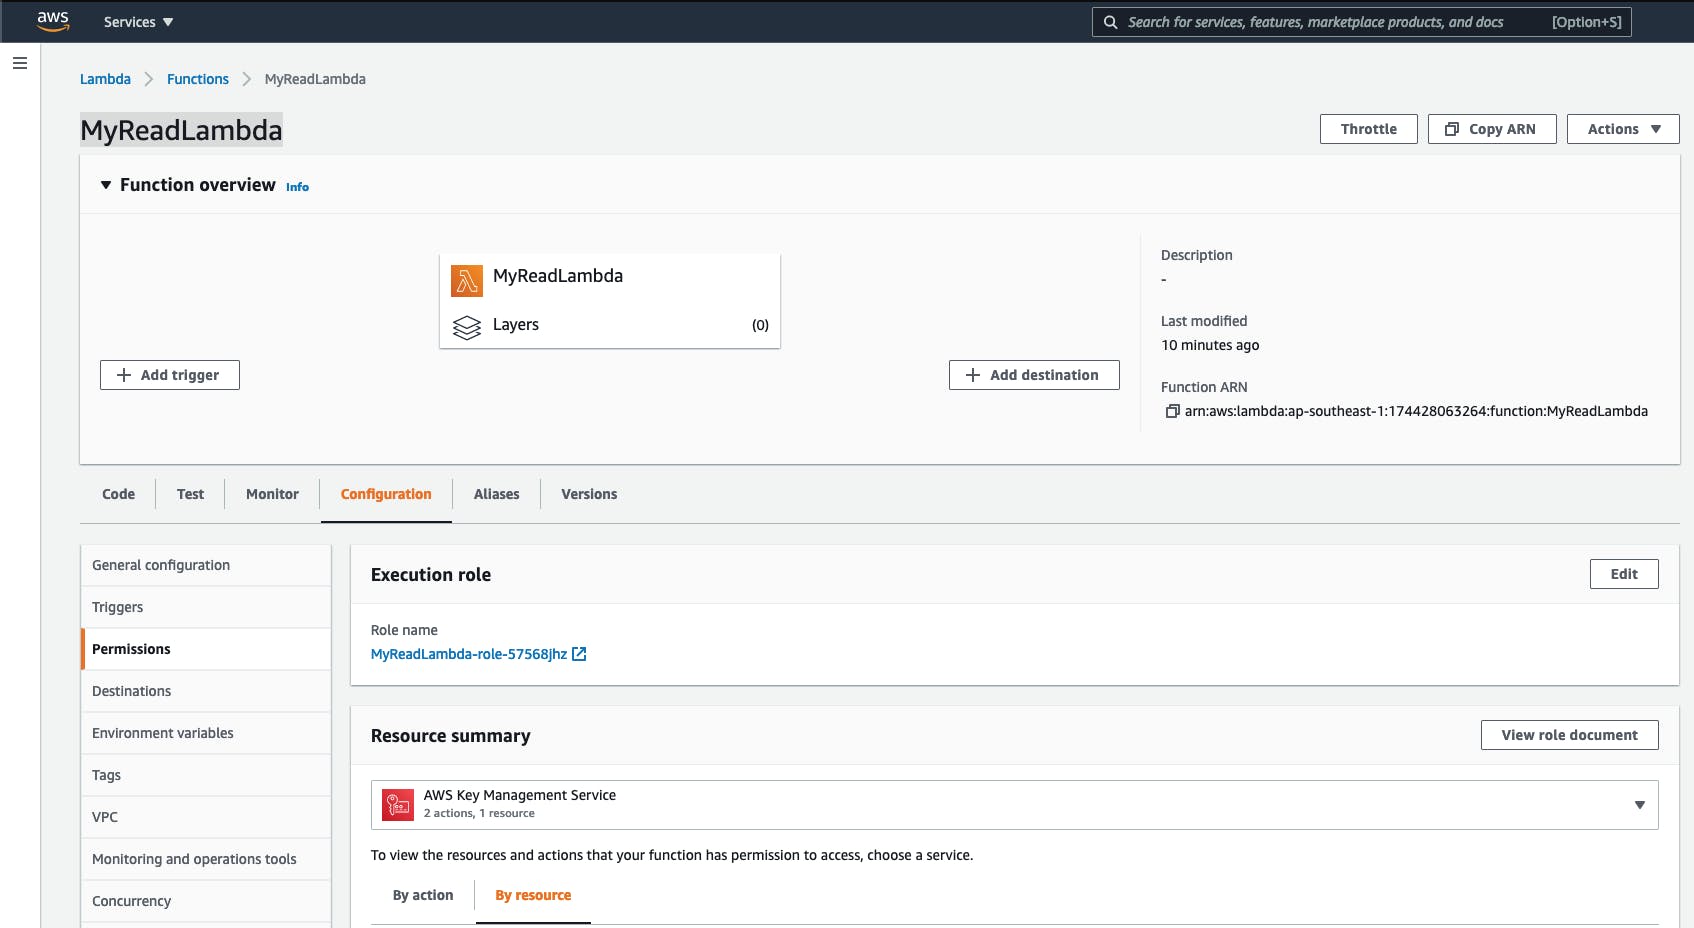
You should be able to see similar to the below code:
Select attach policies, and search for DynamoDB
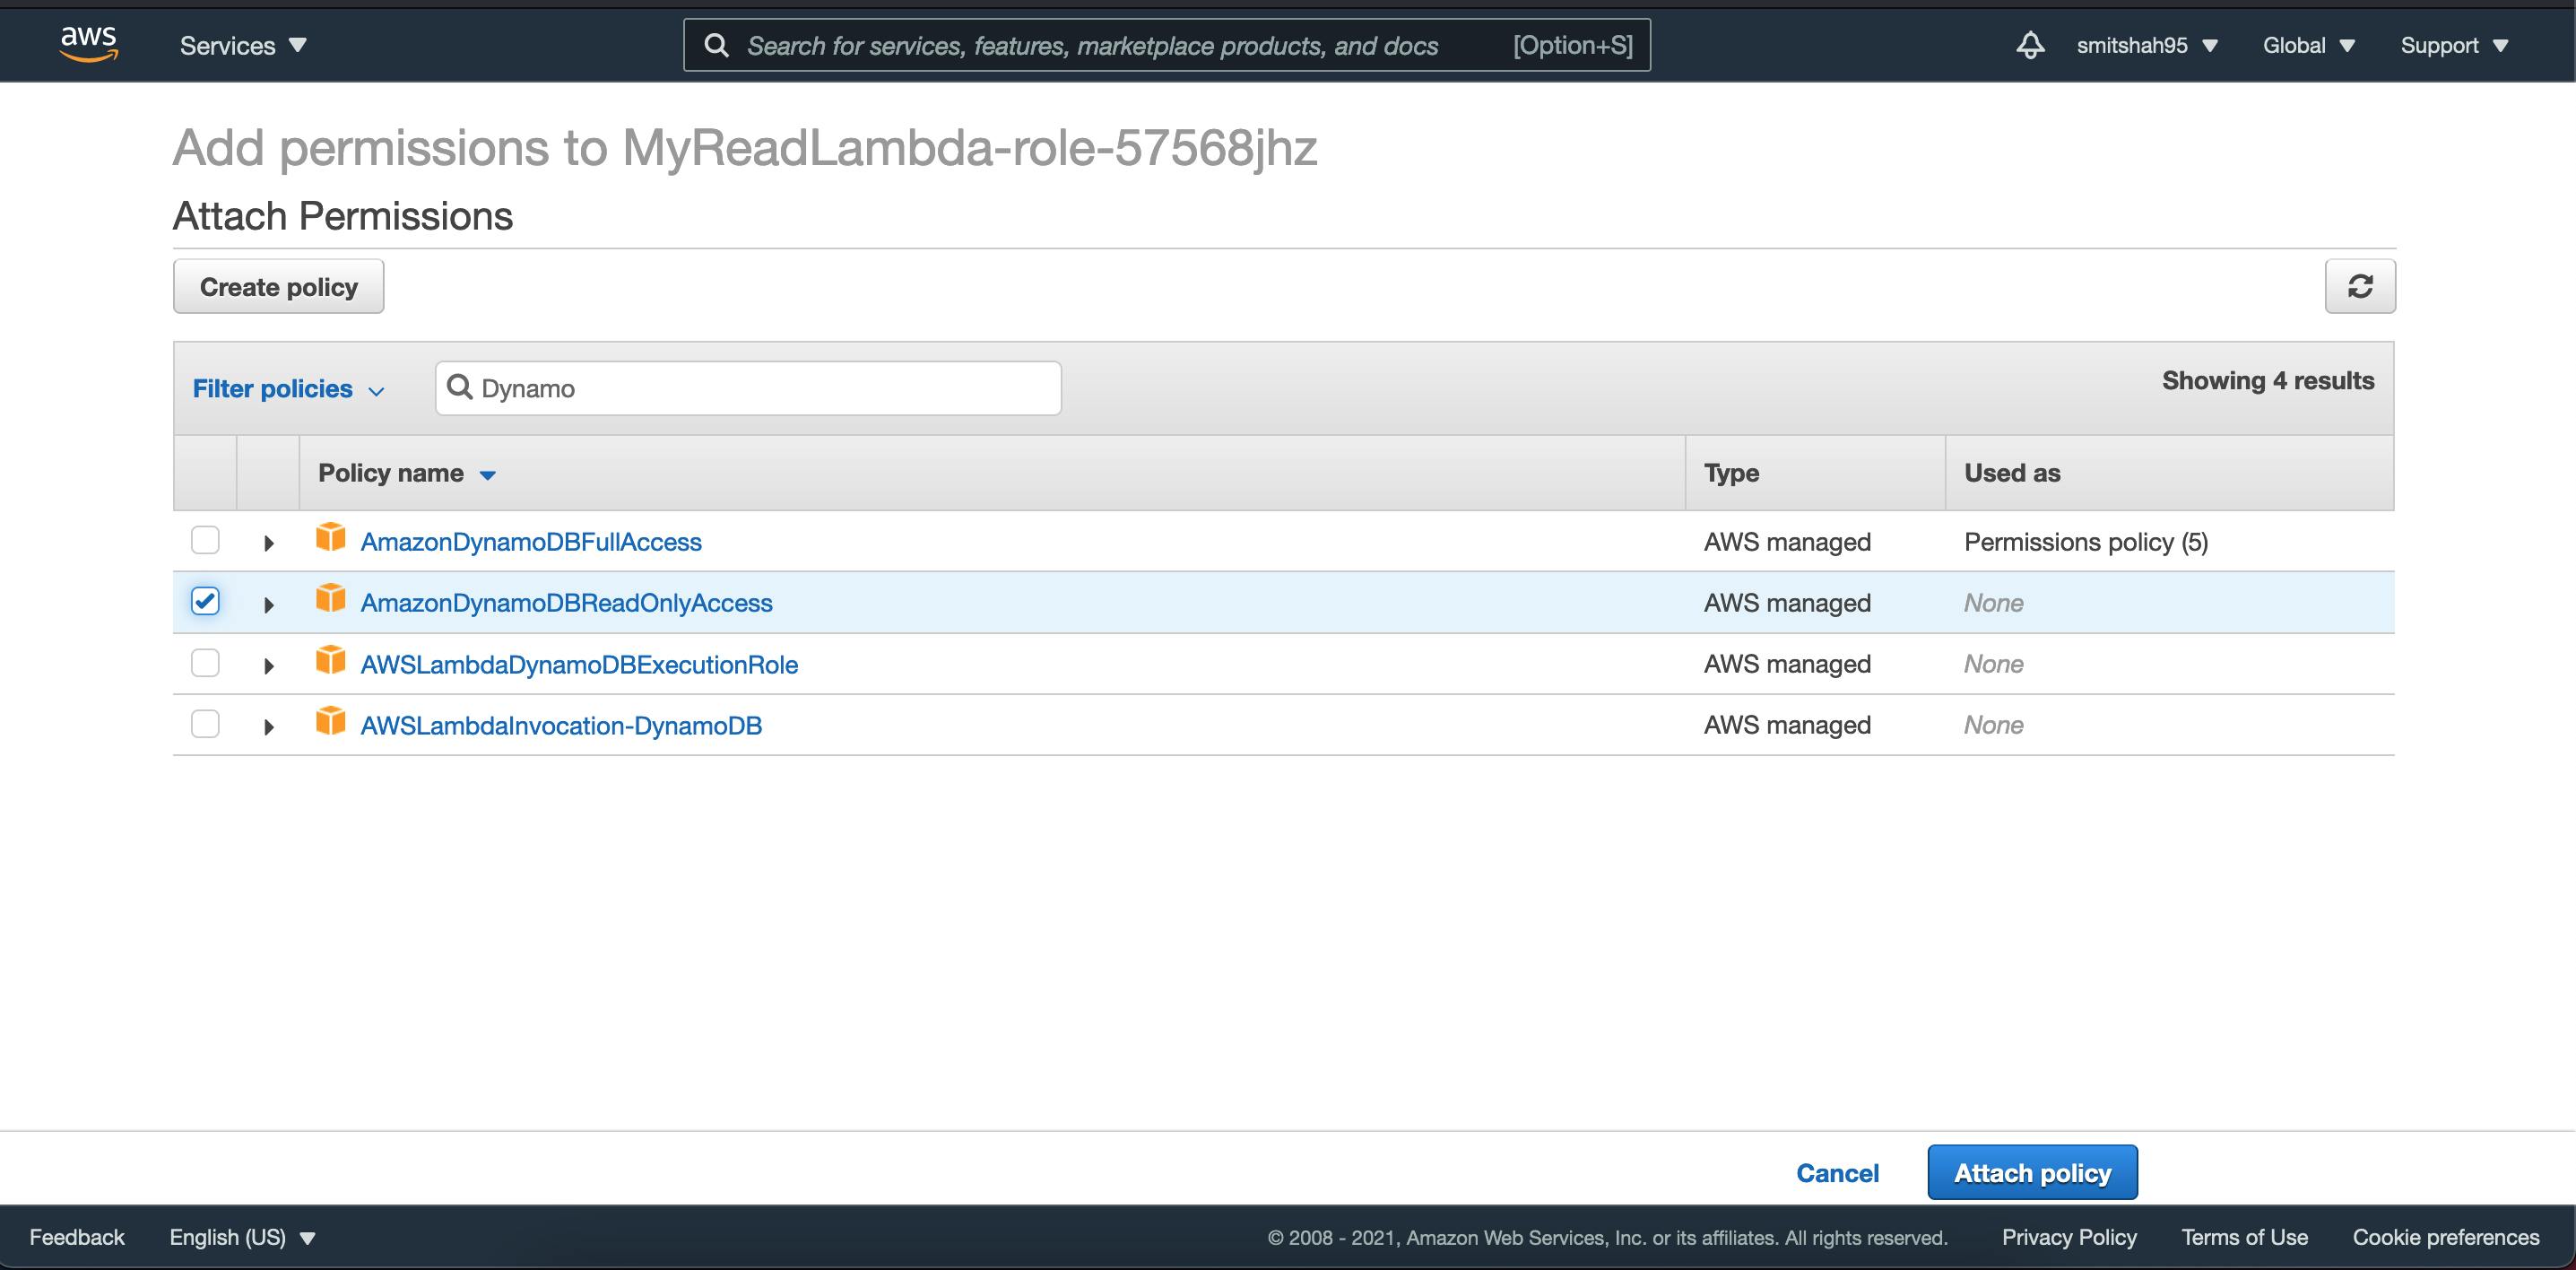
Select ReadOnlyAccess and click Attach Policy
Once done, lets route back to Lambda and go to test,
Please note, IAM may take time to reflect, to if the below steps does not work, lets try waiting for sometime and try again
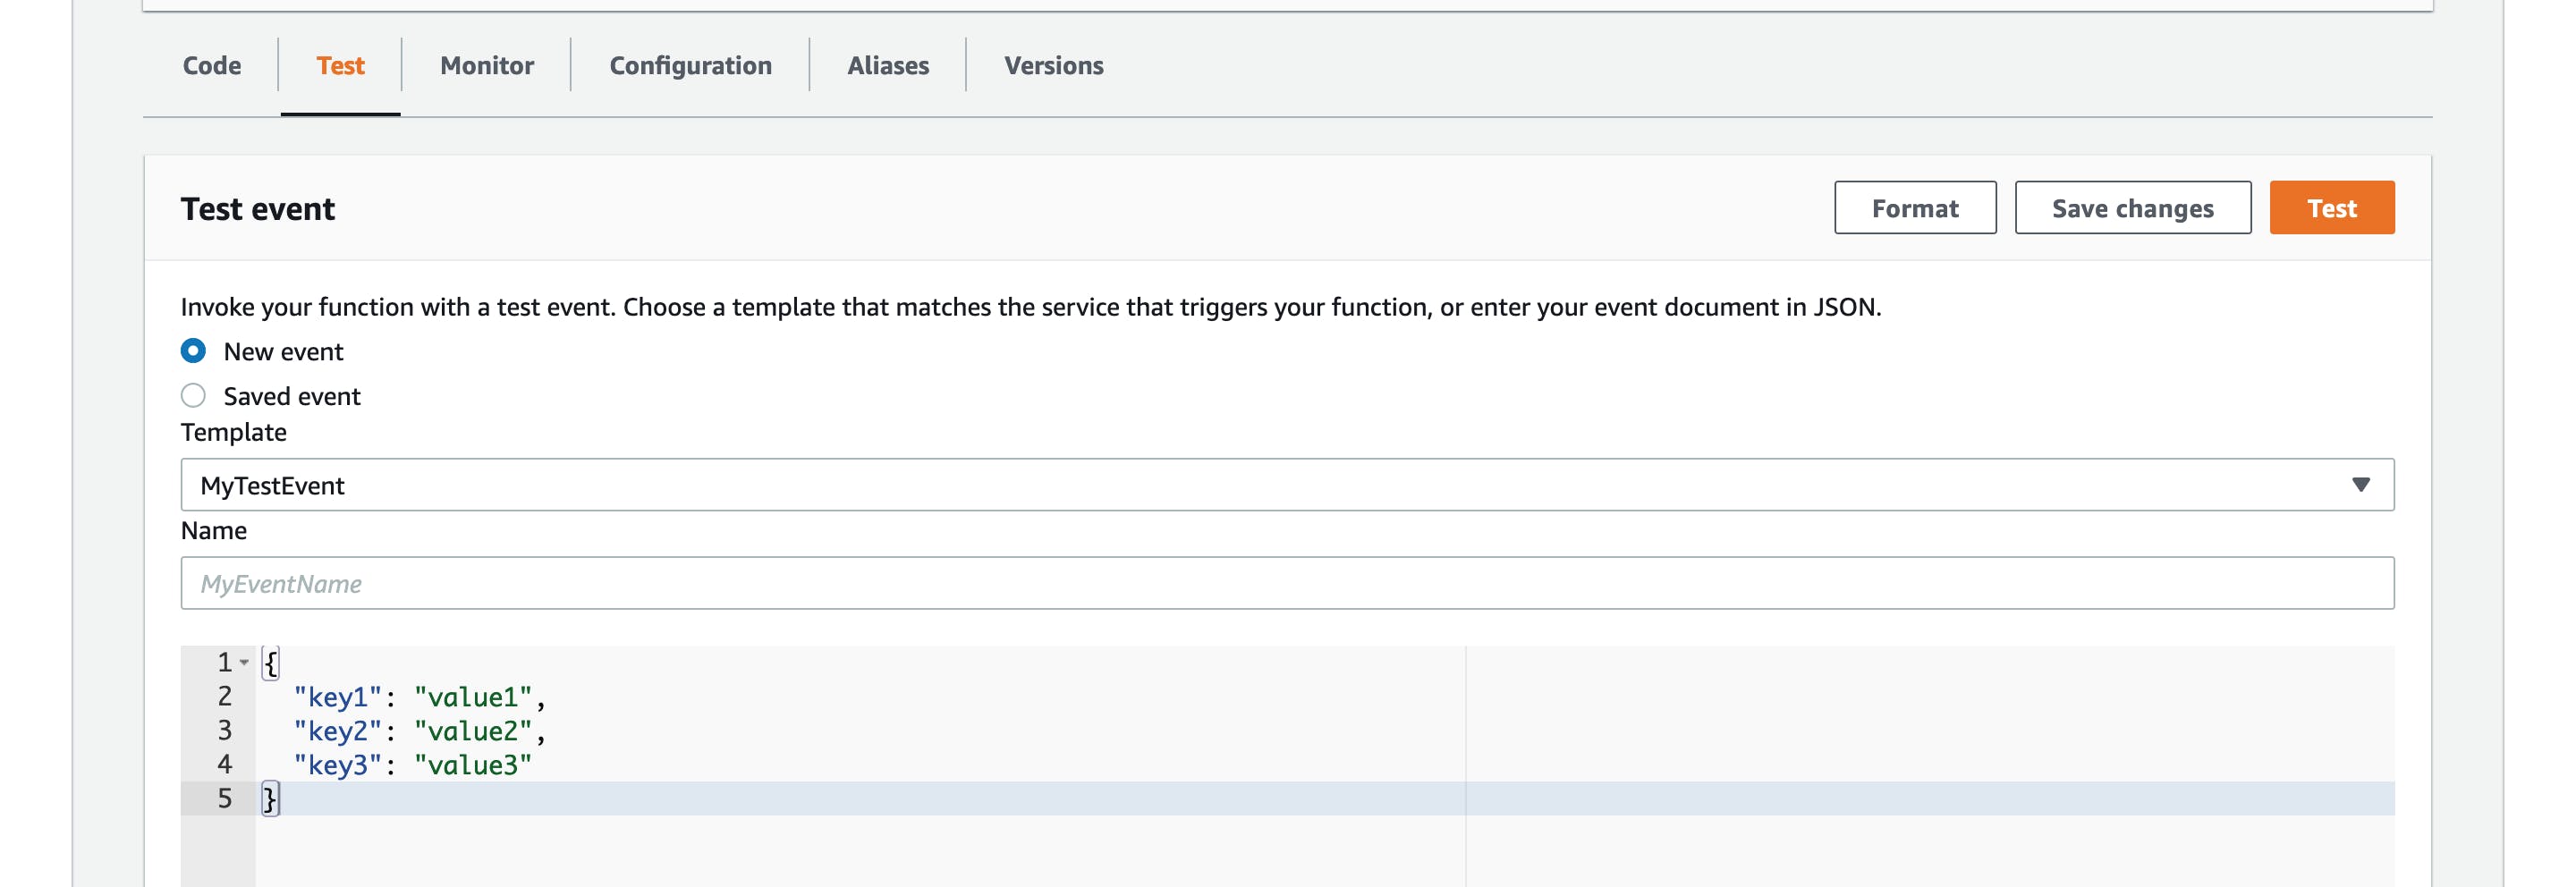
In the test tab, you should similiar to the above view, in that give a name to to the test event. And click Test
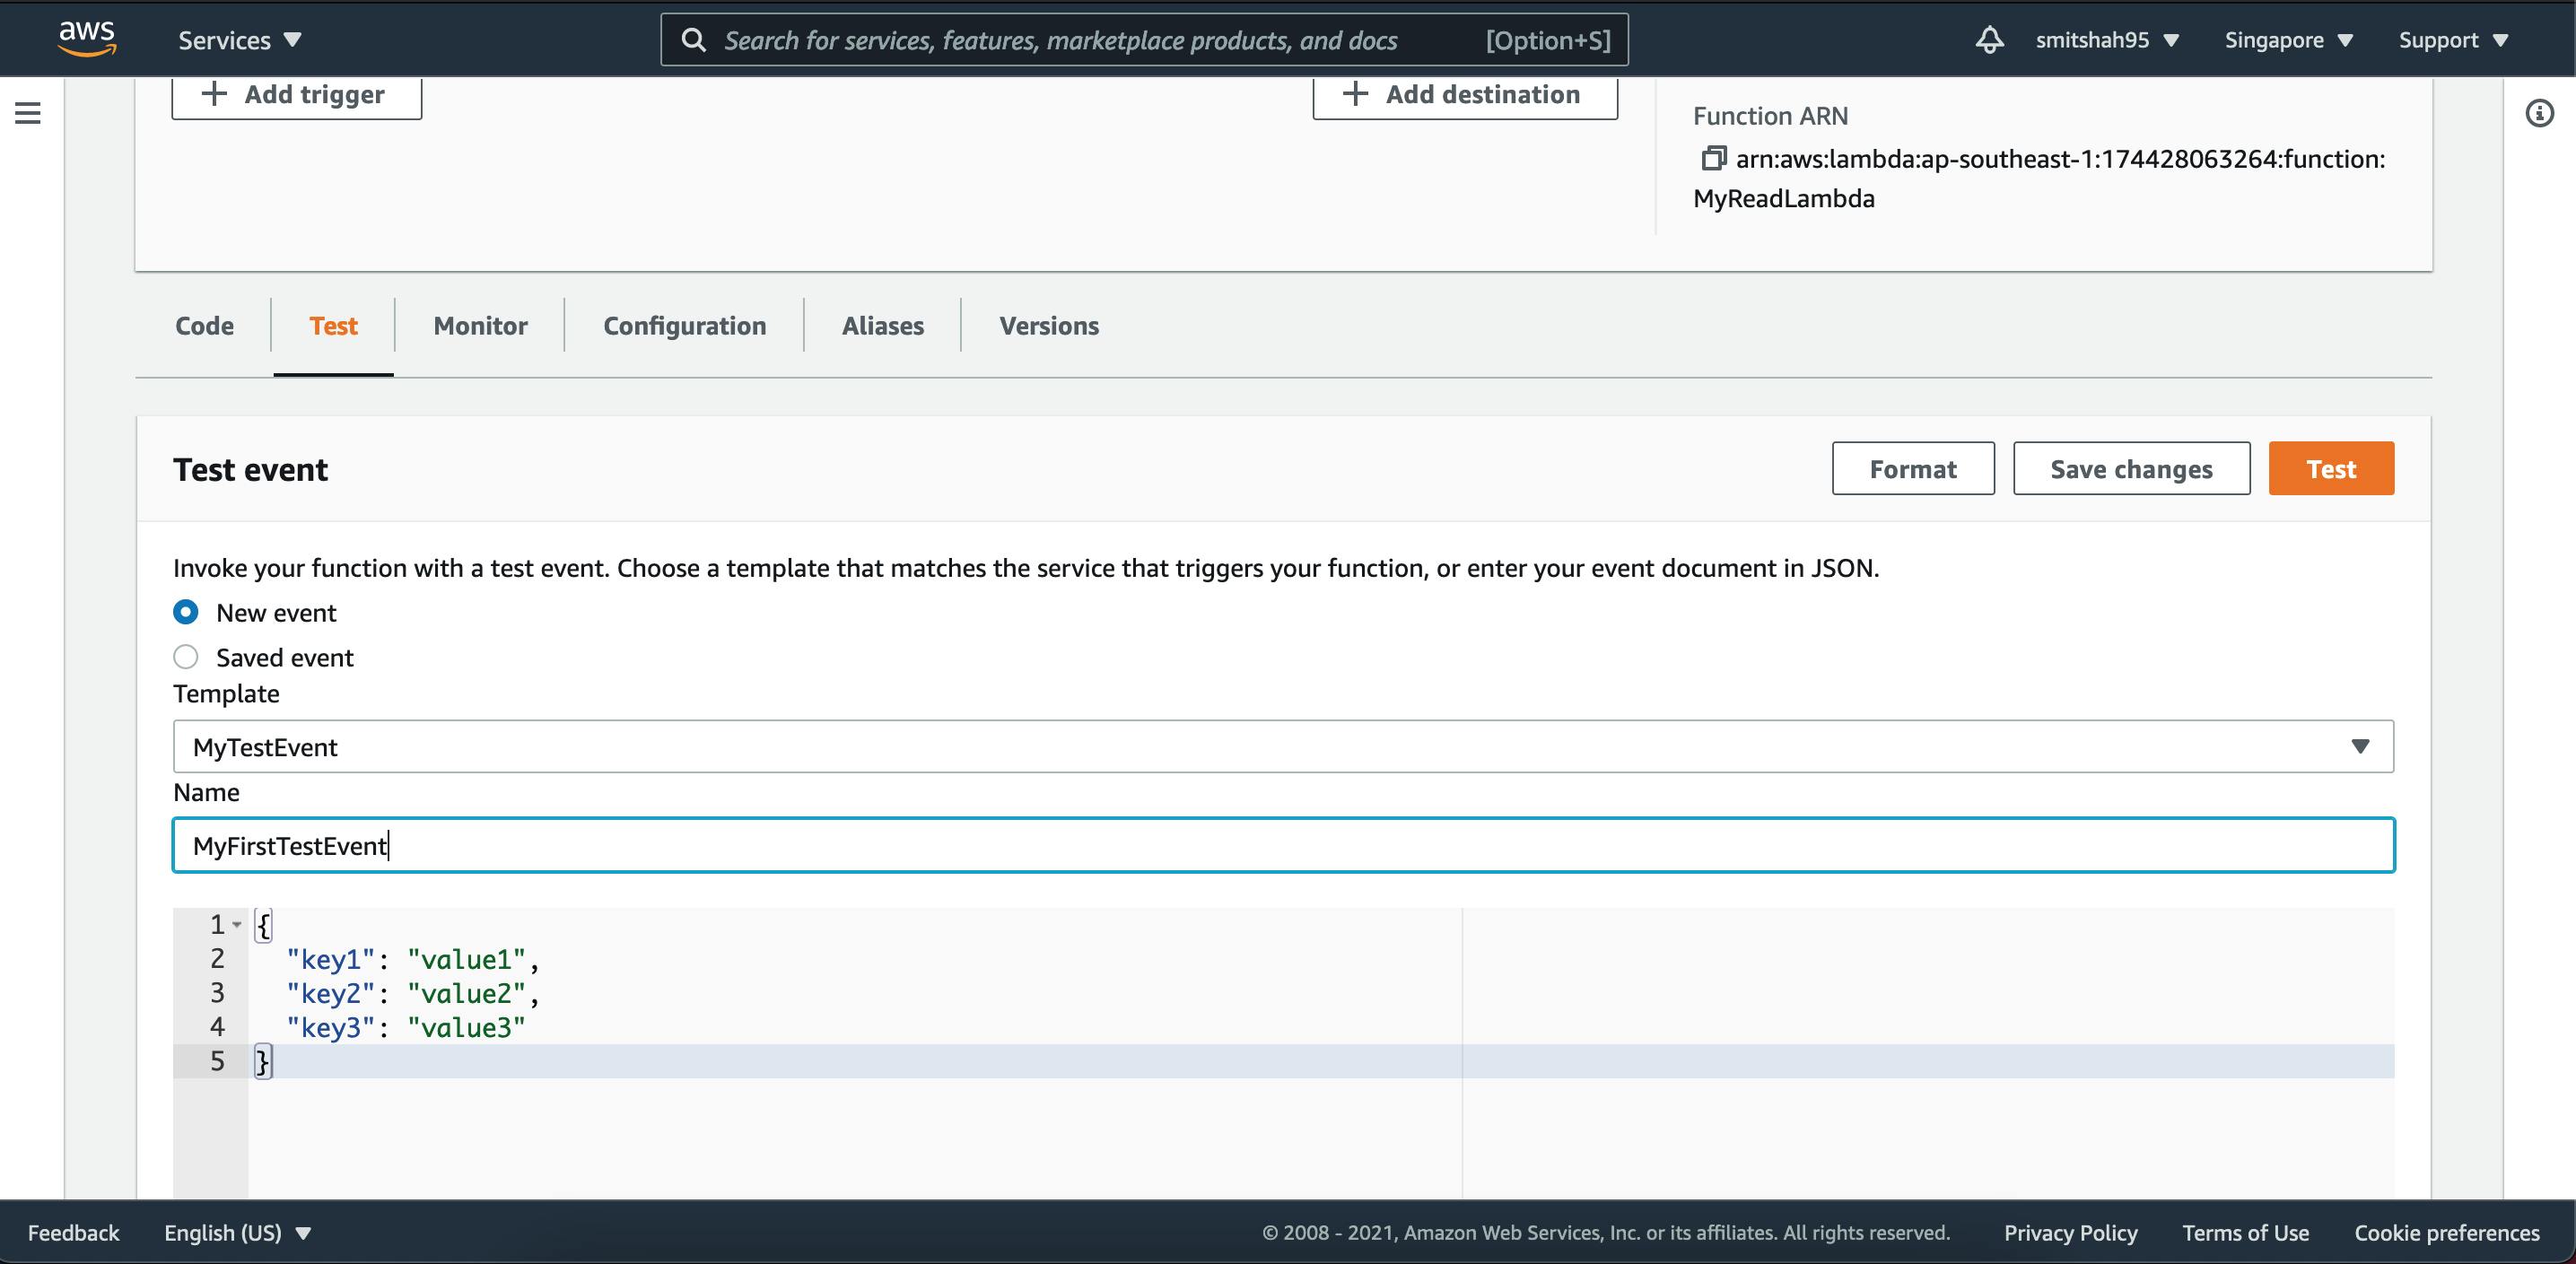
Once done, you should see below:
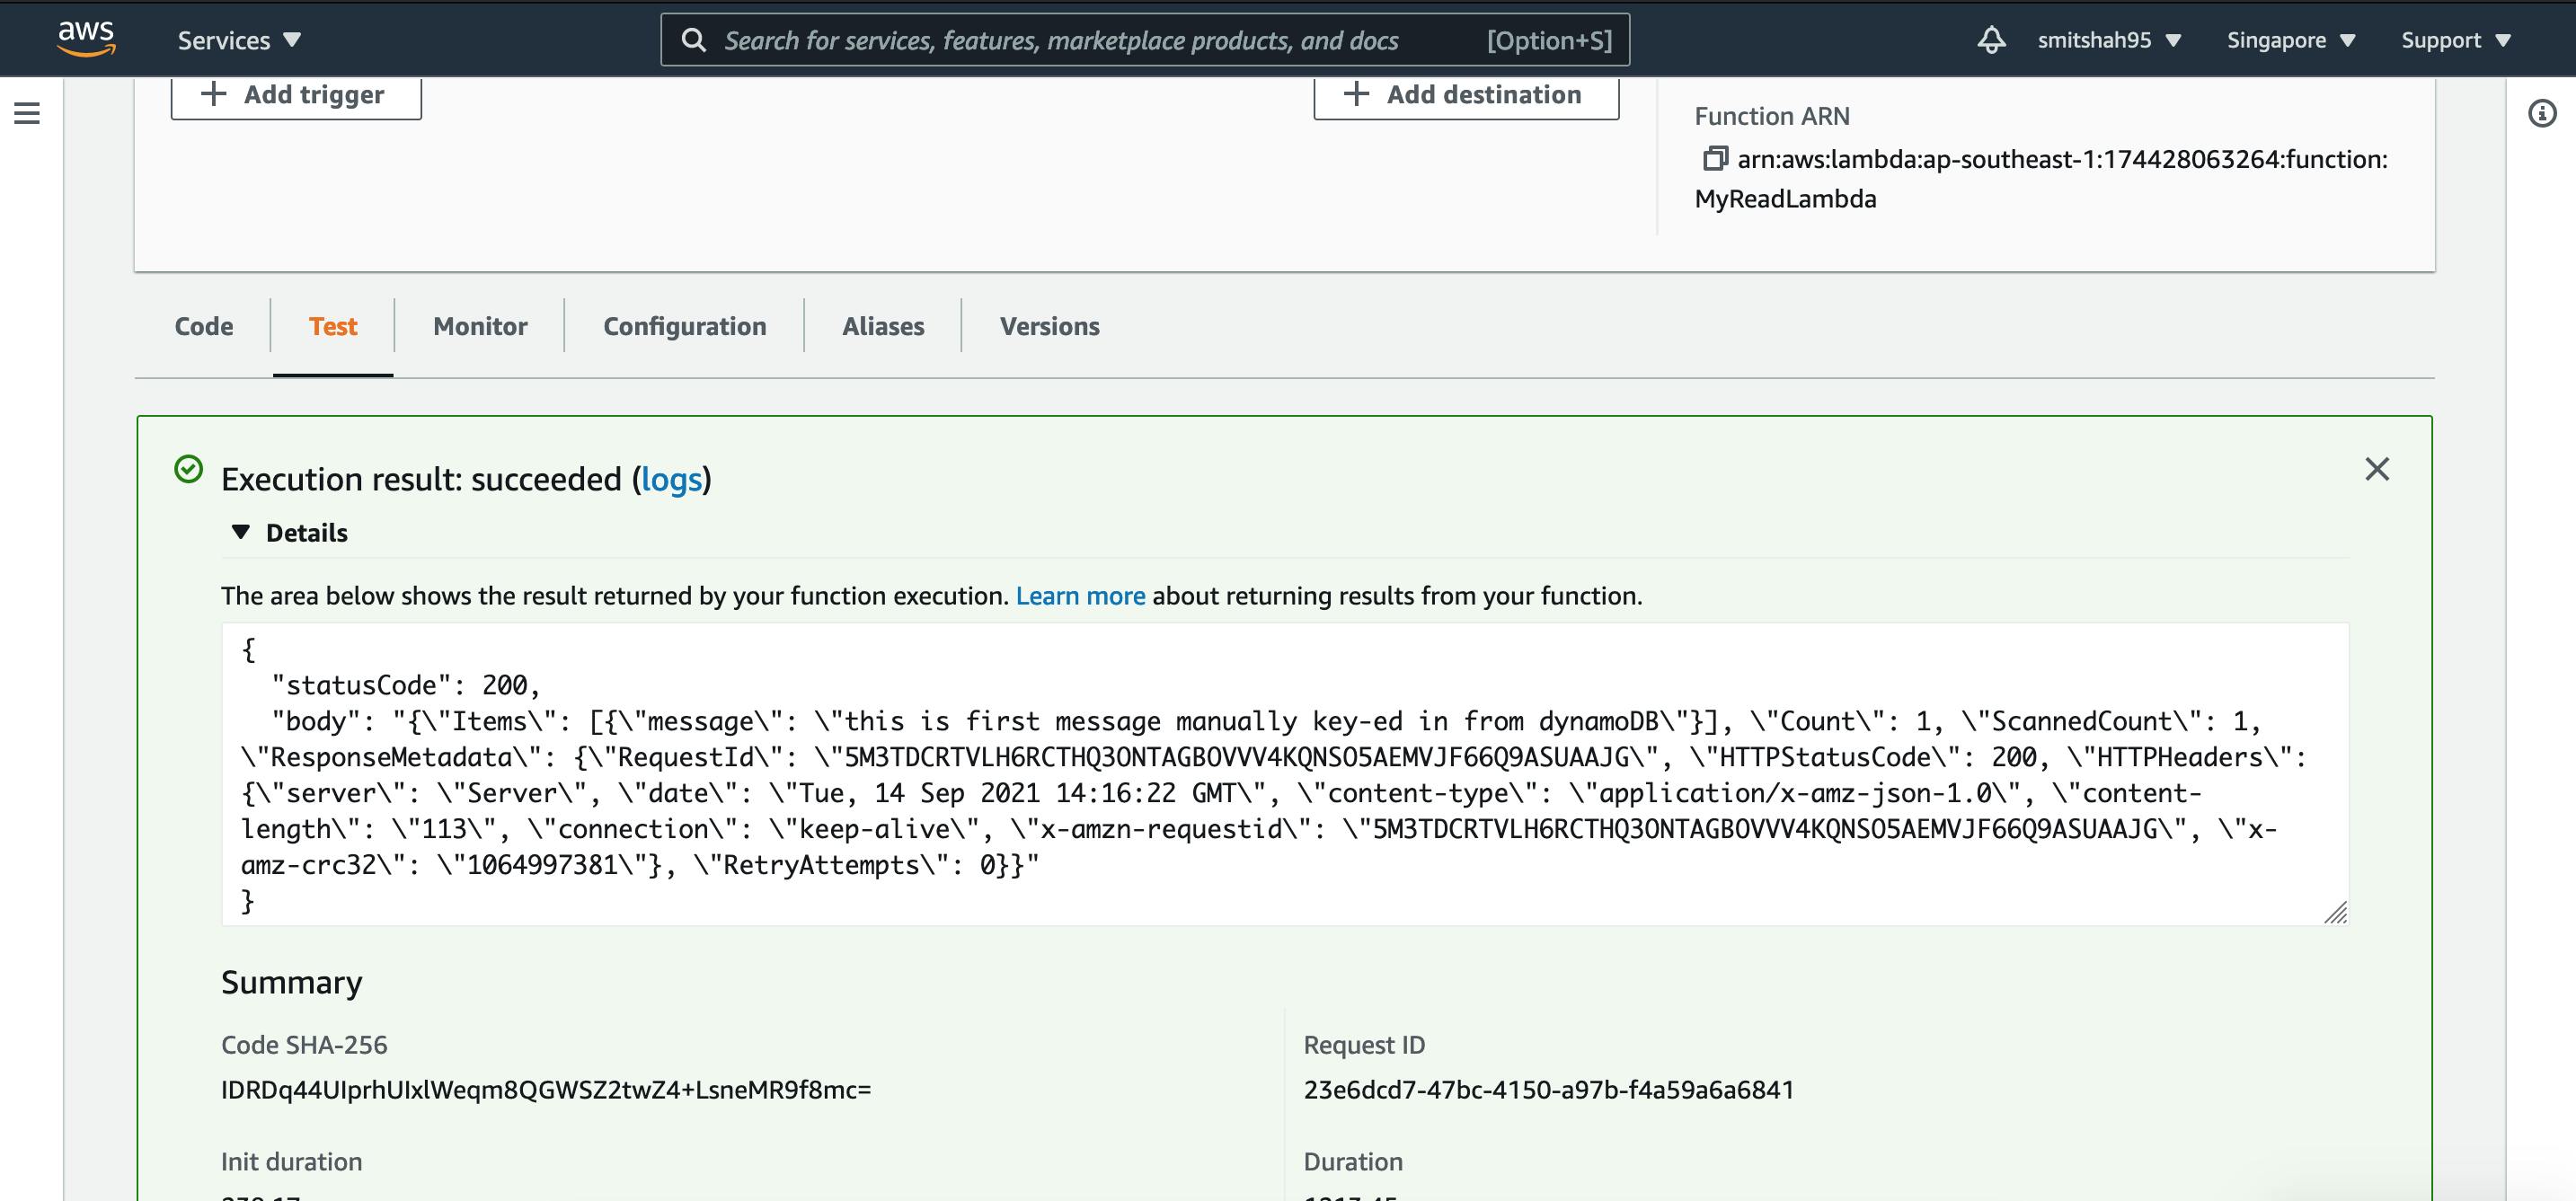
We have successfully deployed and tested the flow. This marks the end of this episodes, we will manually delete the resources we have created.
Cleanup
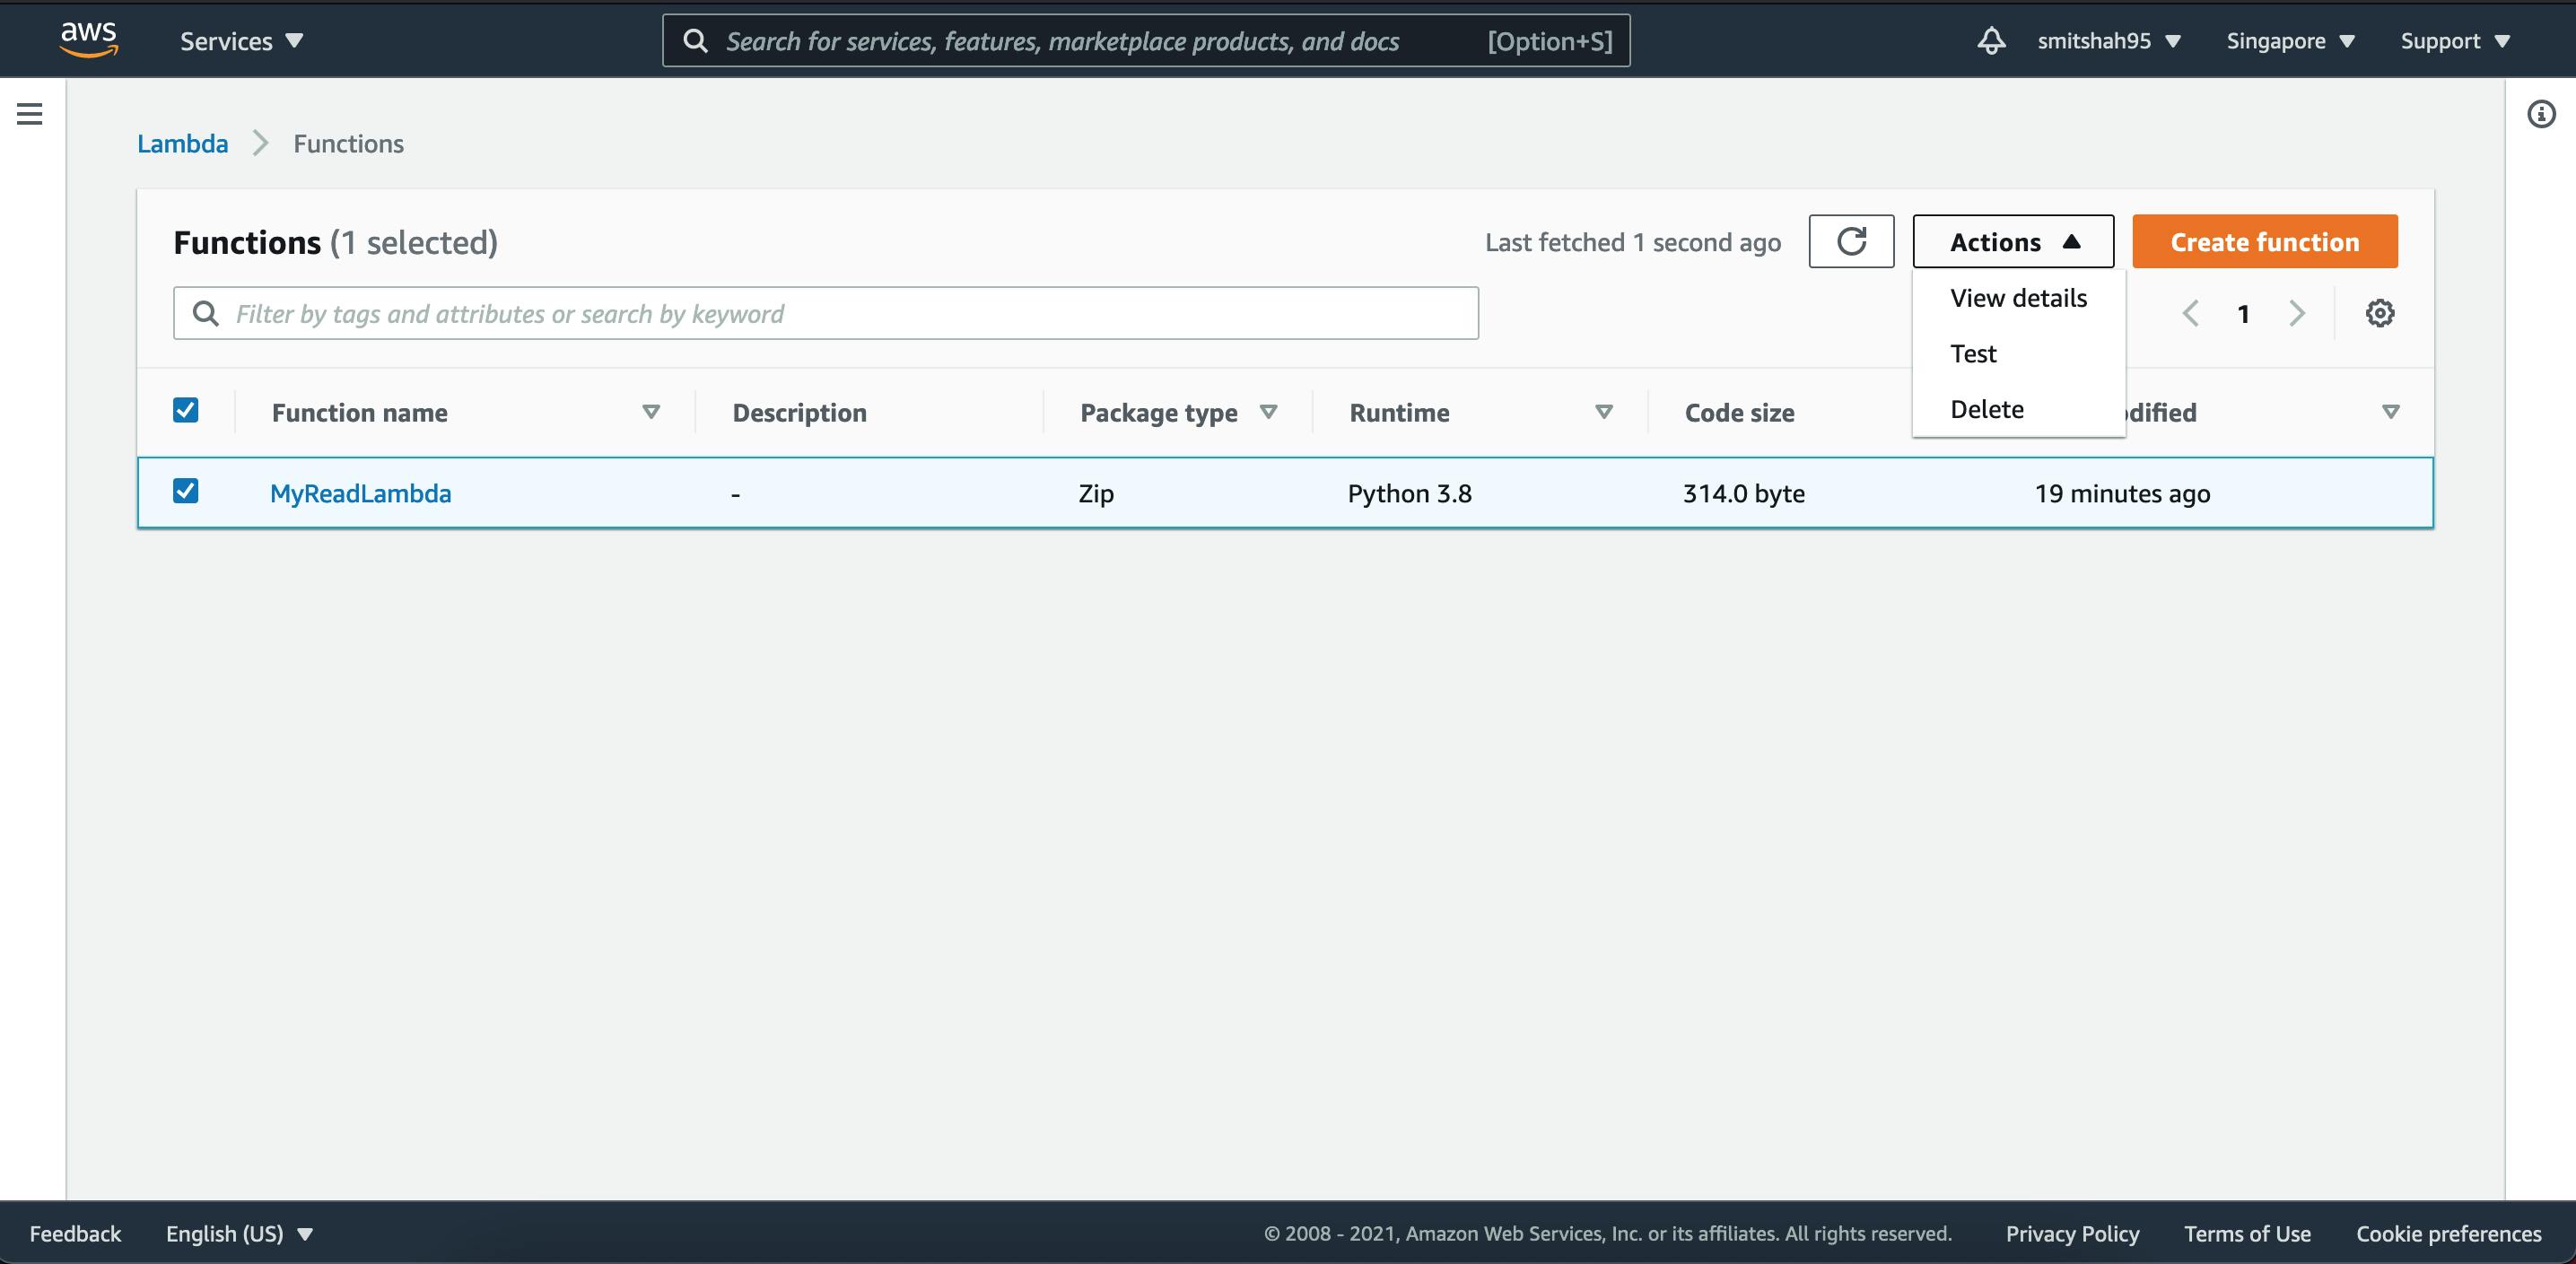
Let us delete the Lambda function by simply selecting the function and select the Delete from Actions dropdown:
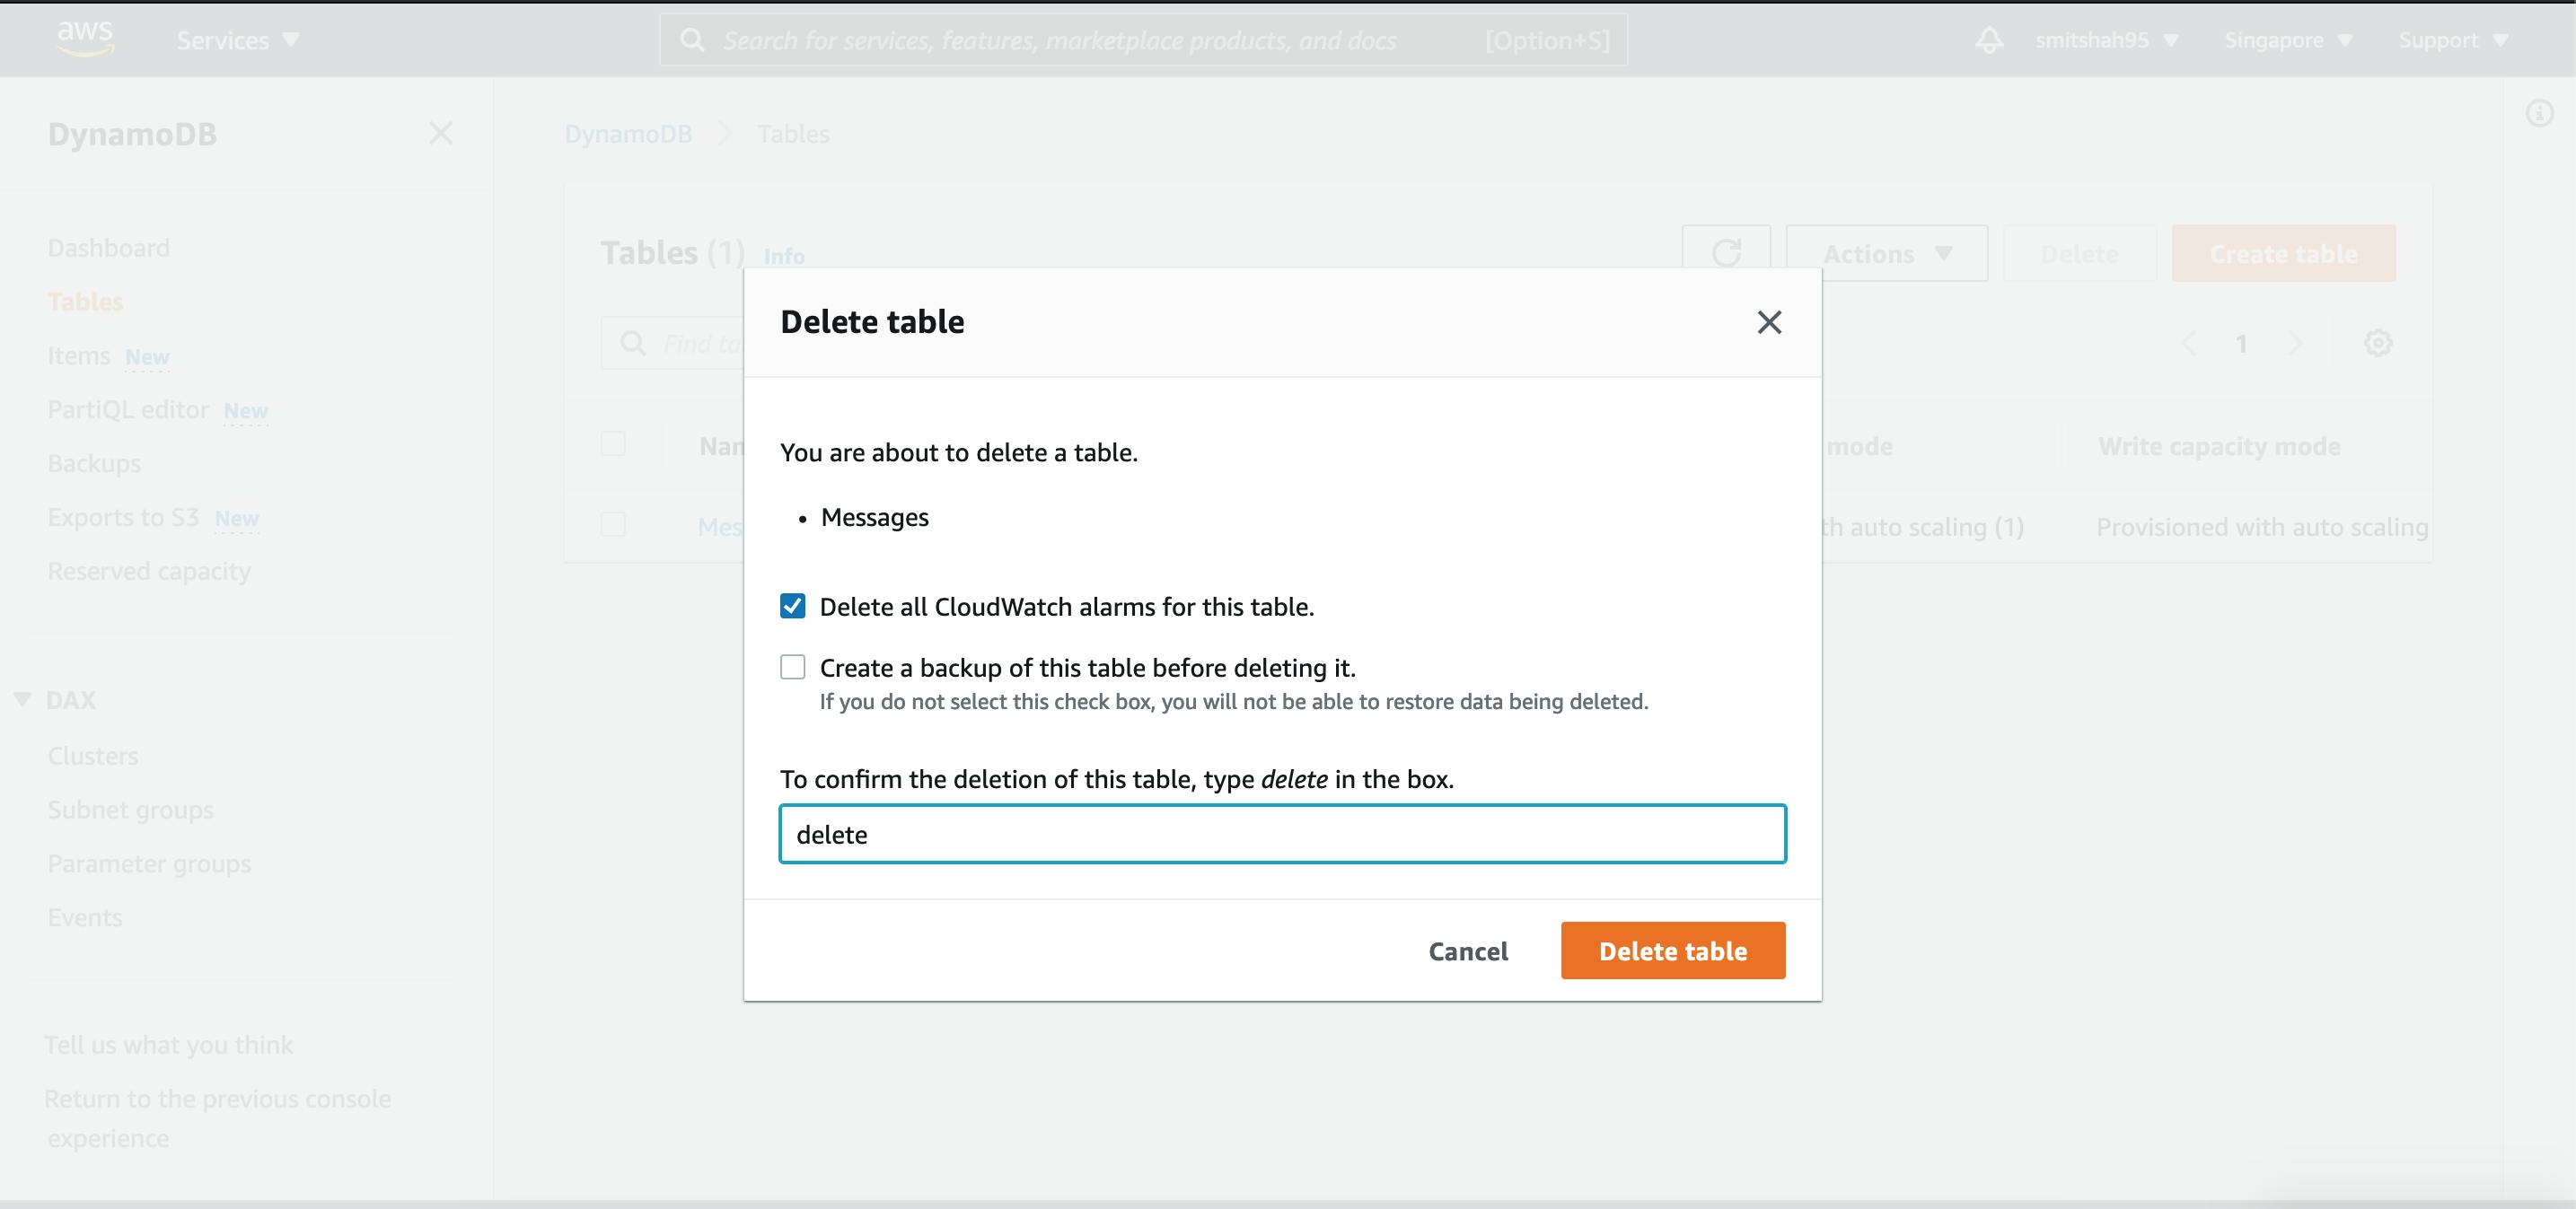
Let us delete the DynamoDB table:
you will have to type delete to confirm the deletion