

In the earlier article , I discussed on how to snapshot and restore from local machine. In this article we will focus taking the snapshot to AWS S3.
Please ensure you have an AWS account, and have a basic knowledge on creating access keys and buckets in S3.
Steps:
- Create AWS Bucket
- Install repo-s3 elasticsearch
- Create a repository in Kibana
- Create a policy for the repository
- Add AWS Access Key and AWS Secret Key
- Create a snapshot and restore
Create AWS Bucket
This should be the simplest step amongst the all, go to S3 and create a bucket. For this example I have named it elasticsnapshotdemobucket
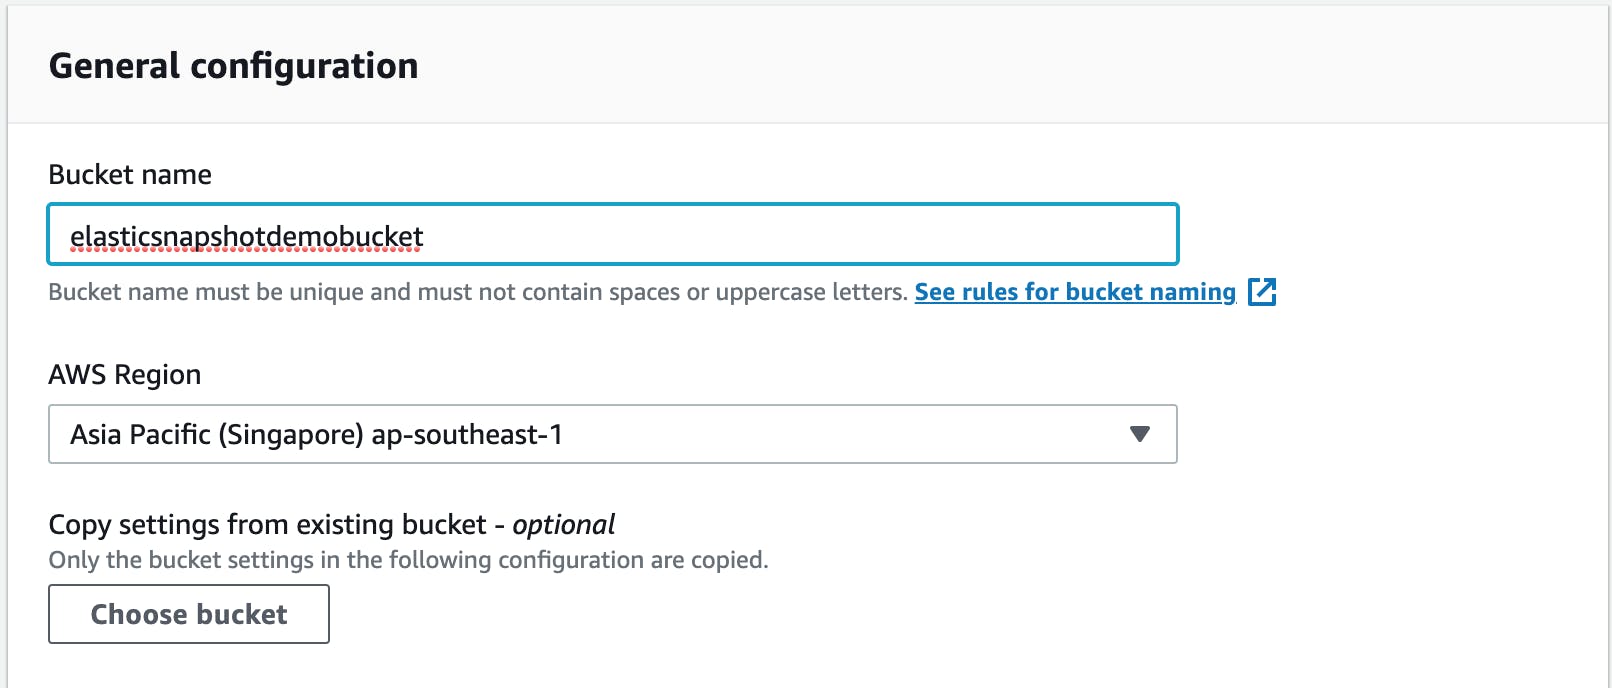
Once the bucket is named, rest all the leave it as default, and create the bucket.
Install repository-s3 dependency plugin in elasticsearch
Before we could put our snapshots to the S3, we need to install plugin for elasticsearch to able to perform AWS S3 operations.
Go to your elasticsearch directory and run the below command, to install the repository-s3
bin/elasticsearch-plugin install repository-s3
It is recommended after the install is successful, to restart both your elasticsearch and Kibana
Create a repository in Kibana
Same as the article we will create a repository, either using DevTools or Kibana.
Here is the devTool version:
PUT _snapshot/elastic_snapshot_demo-s3-repo
{
  "type": "s3",
  "settings": {
    "bucket": "elasticsnapshotdemobucket"
  }
}
Here is the Kibana version:
Go to: localhost:5601/app/kibana#/management/elast..
Repo Name: elastic_snapshot_demo-s3-repo
Repository type: Select AWS S3
Select Next
Under Bucket add the name of your bucket that you created in AWS S3.
Select Register
Create a policy for the repository
Same as the article earlier we will create a new policy, with different name:
Lets navigate to localhost:5601/app/kibana#/management/elast..
Policy name: elastic_snapshot_demo_daily_s3_snapshots
Snapshot name: <daily-snap-{now/d{yyyy.MM.dd|+08:00}}>
Repository: elastic_snapshot_demo-s3-repo
Schedule: 0th Hour, 0th Min
Under Indicies, unselect the indicies and select the Indice we wish to snapshot. For this demo, lets select elastic_snapshot_demo
Leave rest as default, and click Next and Next and Save Policy
Add AWS Access Key and AWS Secret Key
Lets get back to the command line and back to elasticsearch directory. Also keep the AWSAccessKeyId and AWSSecretKey handy, that you should have recovered from the AWS portal.
In the end of the article, I have added a link that has a better way to generate access keys that are specific to the S3 Bucket and not global.
Lets run the below command
bin/elasticsearch-keystore add s3.client.default.access_key
Once ran, it will prompt to add the access key, paste the access key, and press enter.
bin/elasticsearch-keystore add s3.client.default.secret_key
Same, it will prompt to input the secret key, paste the secret key, and press enter.
Once done, restart your elasticsearch.
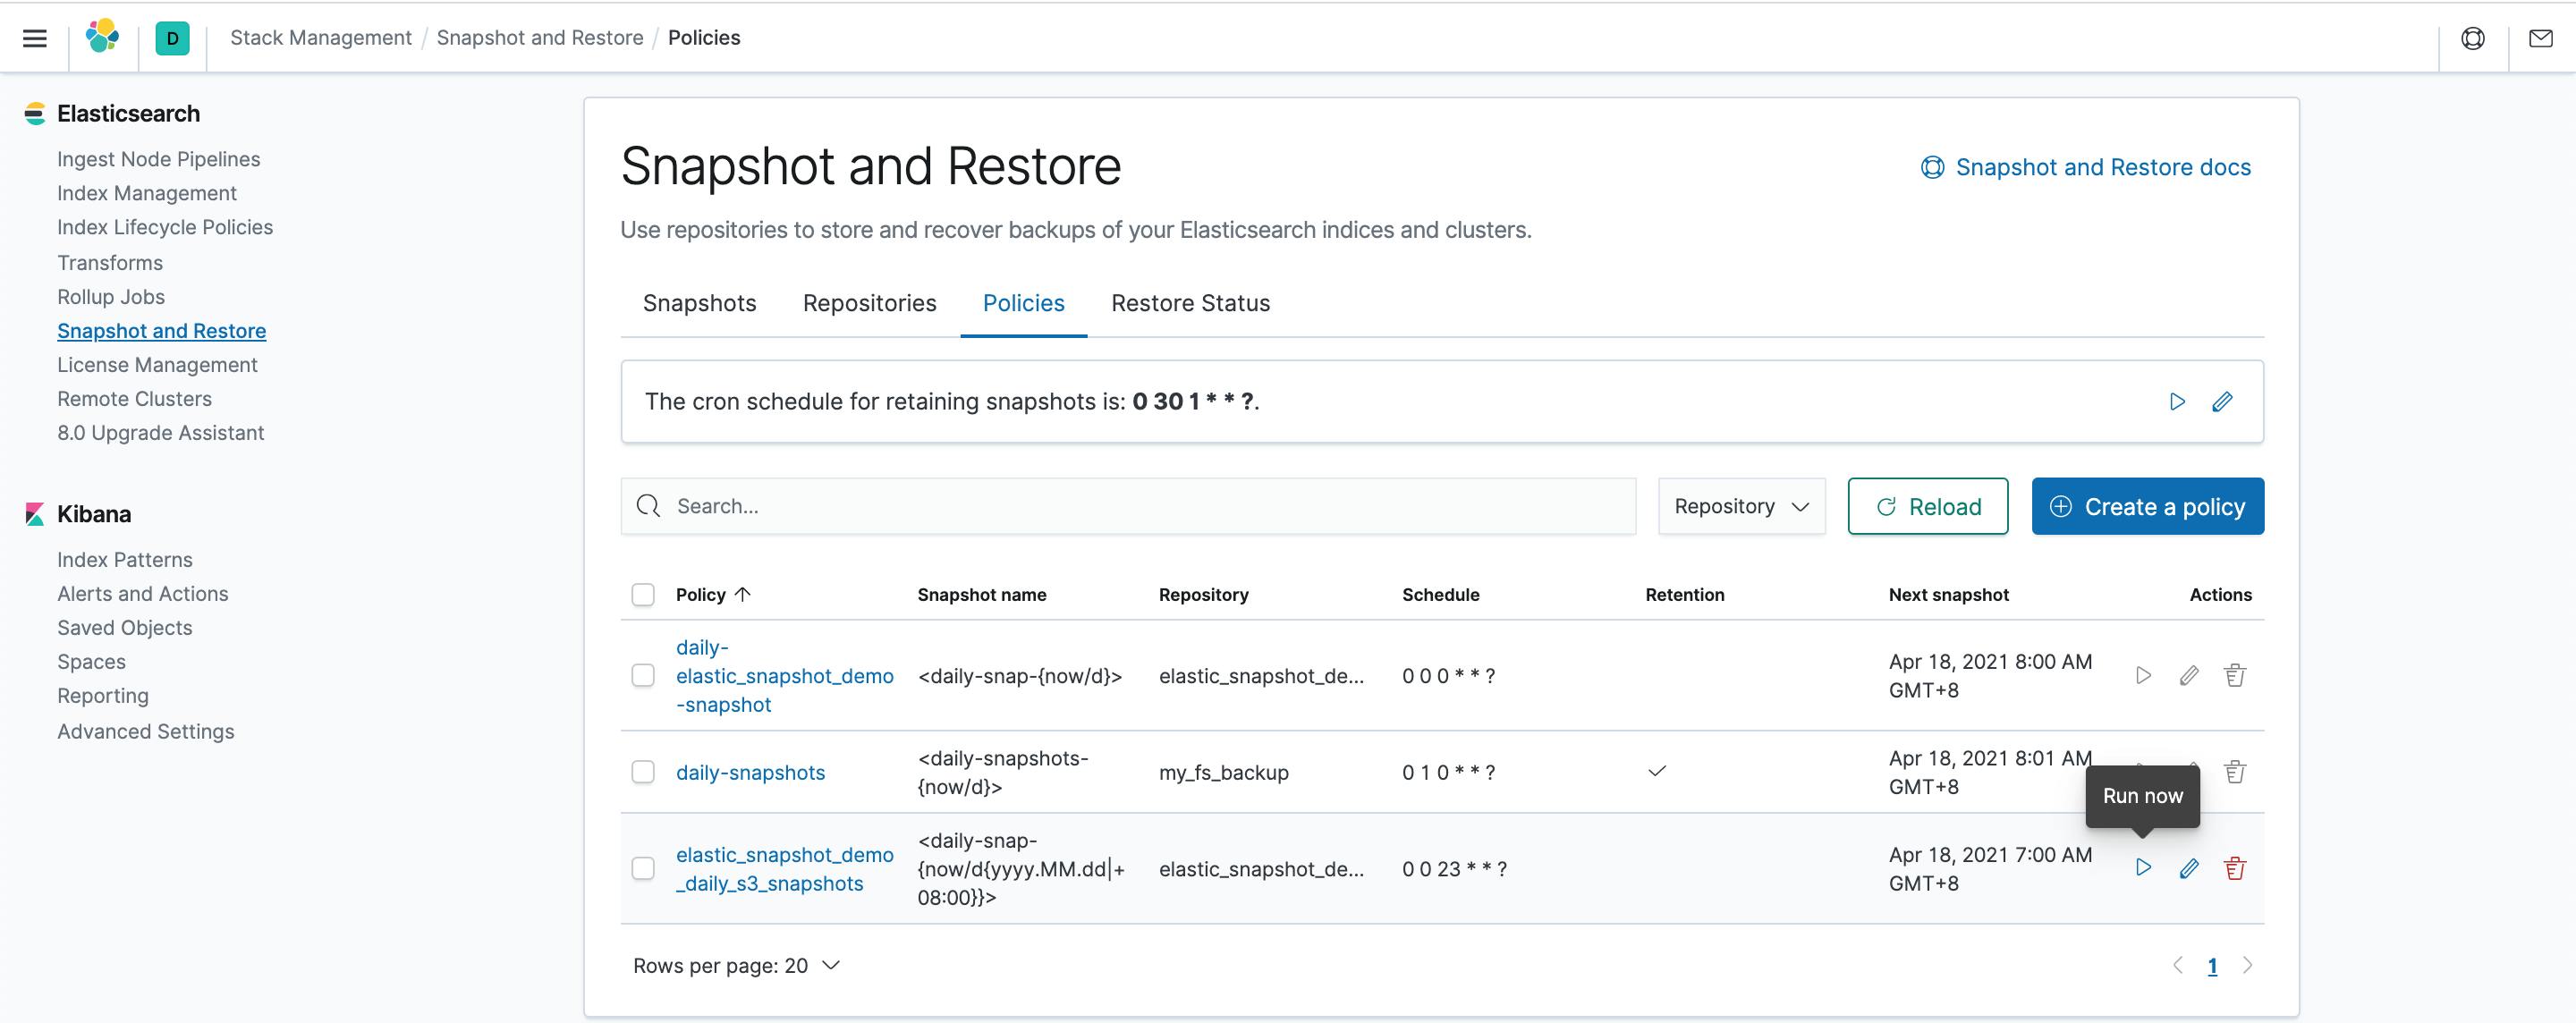
Create a snapshot and restore
For this step, it will same as well, we will select run now for the s3 policy, as shown below:
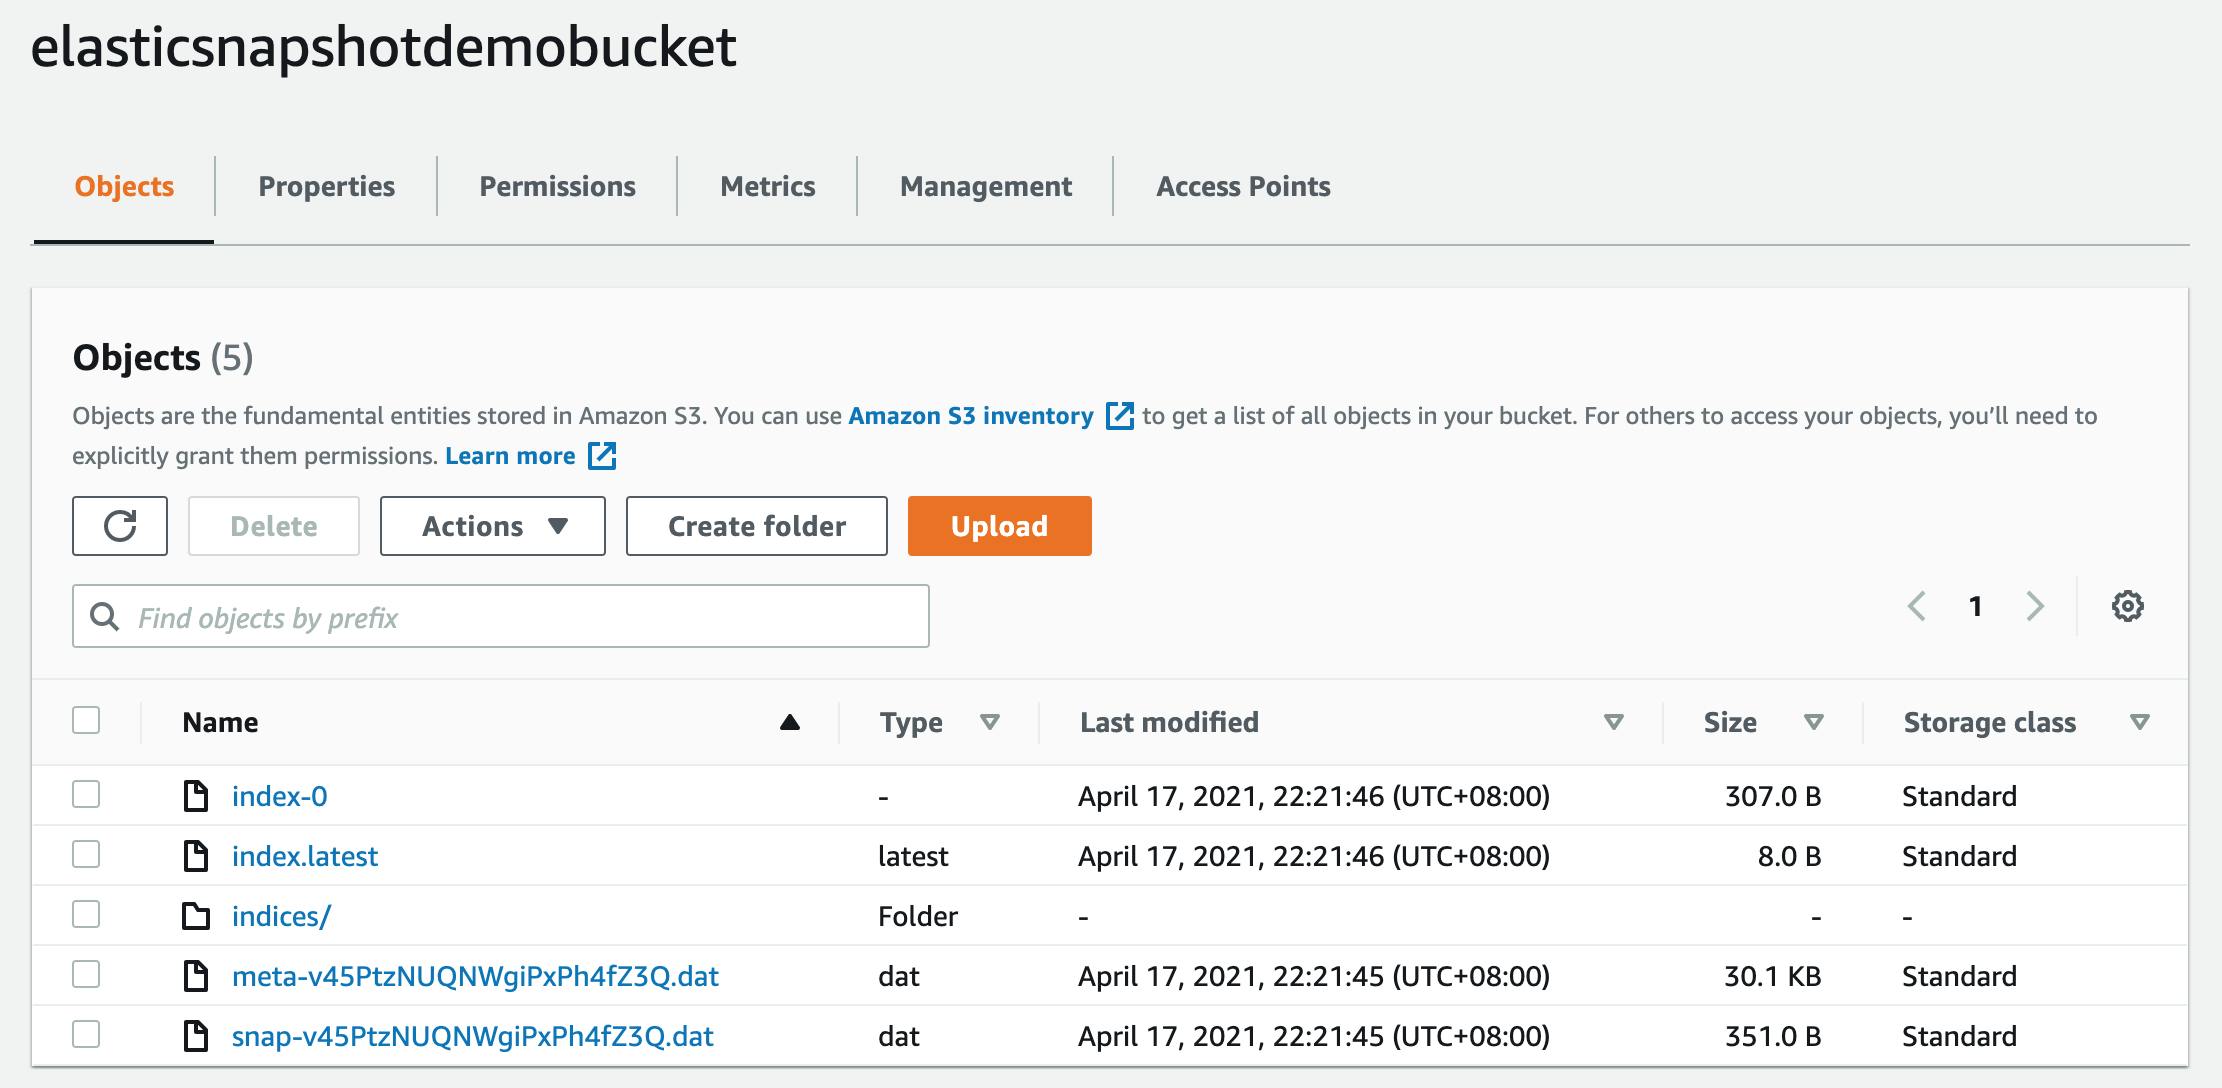
Once done, we can go to AWS and inside the bucket you will be able to see some files.
Similar to below:
Once done, lets delete the index,
DELETE /elastic_snapshot_demo
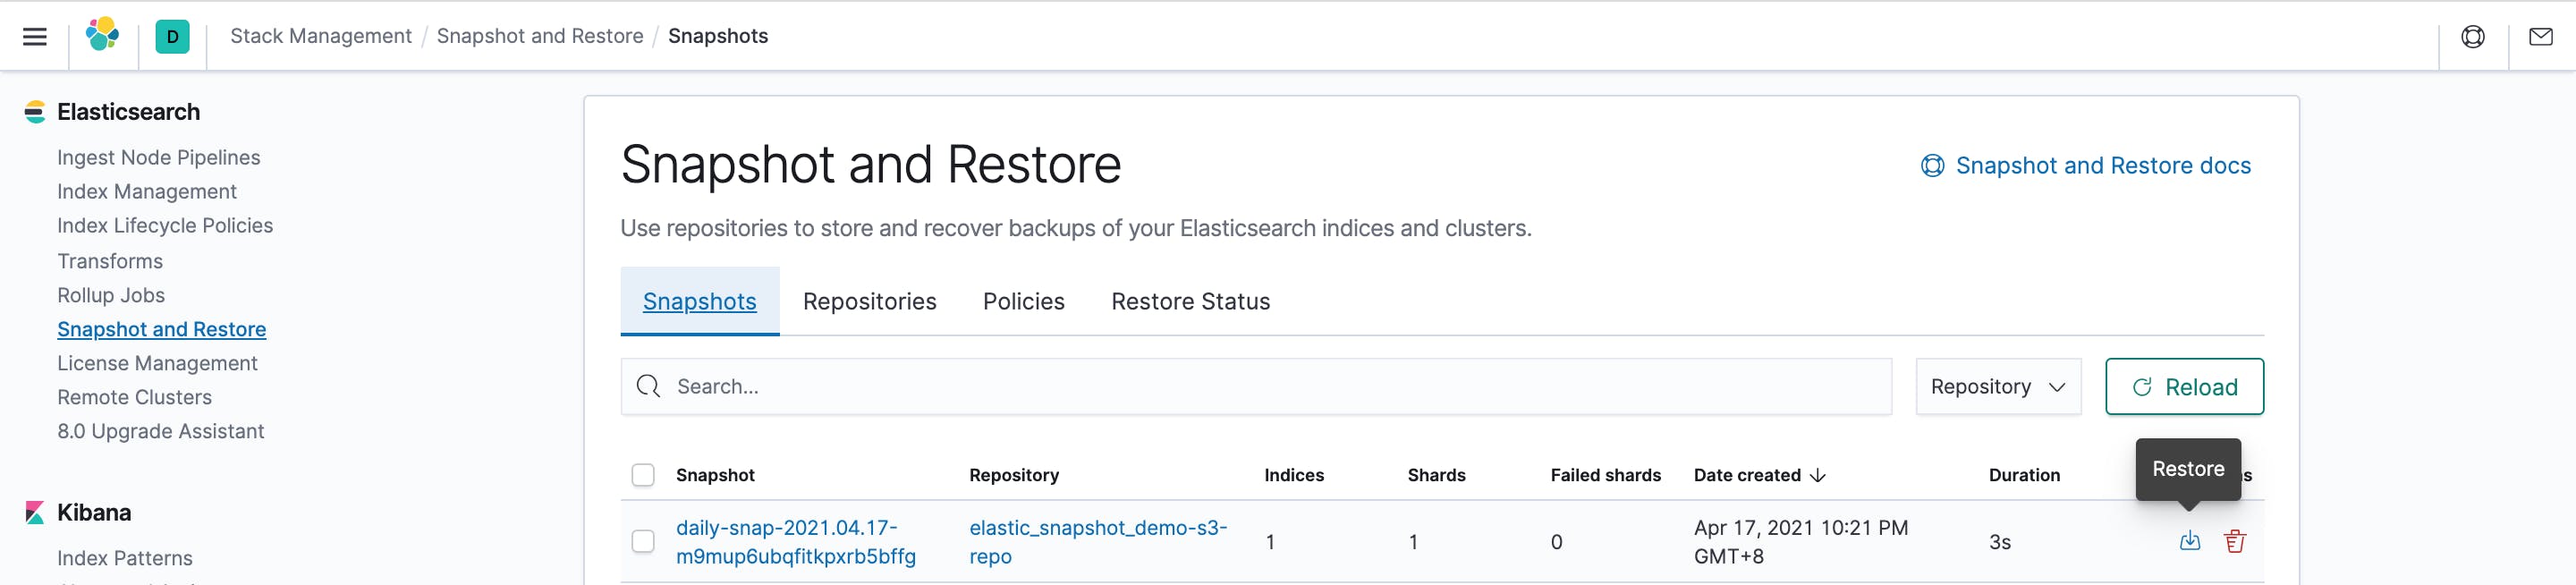
Once deleted, lets restore from S3:
Simply click on restore, for the snapshot created under s3 repository, as show below:
Now if you query again:
GET /elastic_snapshot_demo/_search
It should return the same results as we snapshot earlier.
Finally! You have successfully pushed your snapshot to AWS S3.
Please ensure to in-activate your AWS security keys.
If you liked, please share and like the article.
PS: Next series of articles will include, migrating to a newer version of elasticsearch etc.
Further good reads: