
Migrating from older version of elastic to newer version using AWS S3
Using snapshots of the older version, and restoring it in the newer version


For this demo, I have taken a snapshot at 7.8.0 and restoring in 7.12.0. And we will be restoring from AWS S3, as the configuration is easier, compare to other modes(NAS, Local).
Steps:
- Configure the new versioned elastic search for AWS S3
- Register the repository
- Restore the snapshot
- (Optional) Reindex the restored index
Before we begin, this is Part 3 in the series of Elastic. Part 1 and Part 2 focuses on snapshot using different techniques. However this part can read and easily be followed as a standalone. Although, this part requires to have the snapshot already in AWS S3.
Configure the new versioned elastic search for AWS S3
This section is similar to steps seen in Part 2. However we will repeat to allow for this article to be followed on its own.
Install repository-s3
Redirect to the 7.12.0 elasticsearch directory and run the following command:
bin/elasticsearch-plugin install repository-s3
if it prompts for y/n enter y
Setup Access Key and Secret Key
From the same directory, run the following command to setup AWS keys. Ensure to have the access-key and secret-key are handy.
bin/elasticsearch-keystore add s3.client.default.access_key
Once prompted to enter the access-key paste the key and press enter
bin/elasticsearch-keystore add s3.client.default.secret_key
Once prompted to enter the secret-key paste the key and press enter
Once done, restart elasticsearch.
Register the repository
You can use the DevTools to run the following. But ensure to update BUCKET_NAME to the bucket name you have for your AWS S3
PUT _snapshot/elastic_snapshot_demo-s3-repo
{
  "type": "s3",
  "settings": {
    "bucket": "BUCKET_NAME"
  }
}
Restore the snapshot
Lets go to the Snapshot and Restore of the Stack Management section, under snapshots, you should see the snapshots that was in registered under your AWS S3.
Below is the sample view of the snapshots:
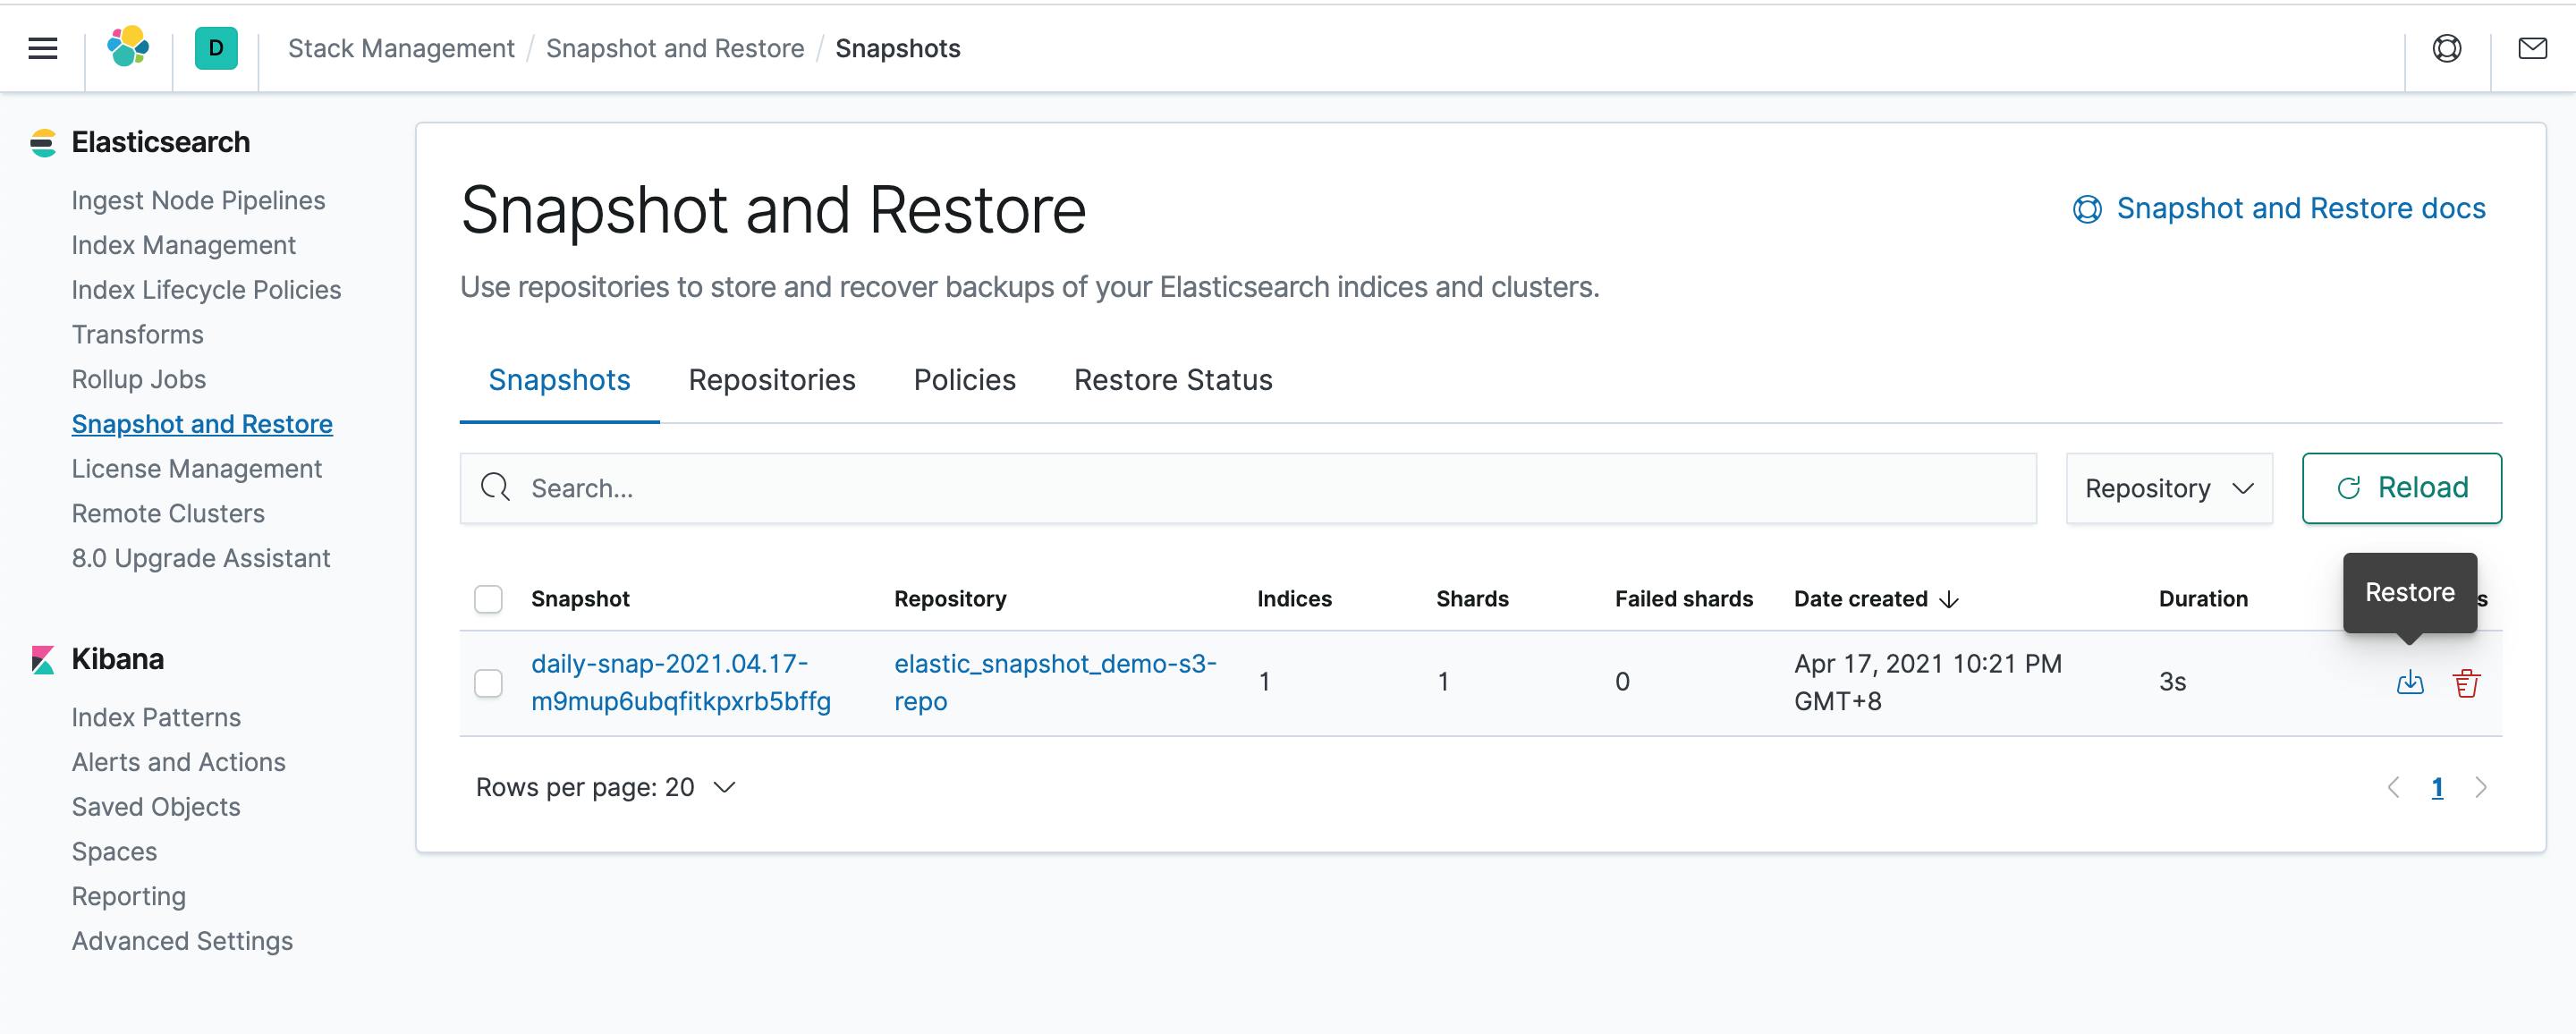
Click on the restore icon. It will prompt for options, leave everything as default. Simply click Next and Restore Snapshot
Once done, you may check the Restore Status section:

Basically, the restoring is complete. However if you wish to index the snapshot data or other queries, you will not be able to do it. If you wish to do so, you will have to re-index the index.
(Optional) Reindex the restored index
Before running the below command in the DevTools, you need to replace RESTORED_INDEX with the index that was part of the restored process. In order to see the index that was restored you can view the index column in the Restore Status tab as seen in the previous step. Secondly, you will have to update NEW_INDEX with a new name for the index.
POST _reindex
{
  "source": {
    "index": "RESTORED_INDEX"
  },
  "dest": {
    "index": "NEW_INDEX"
  }
}
After the update, your command may look like below:
POST _reindex
{
  "source": {
    "index": "elastic_snapshot_demo"
  },
  "dest": {
    "index": "elastic_snapshot_demo_new"
  }
}
Once this is done, you can now run a query on your data. However if you wish to keep the same name of the index. You can simply, delete the RESTORED_INDEX and rerun the same reindex command and swapping the source and dest section.
Thanks for reading! If you liked it, feel free to like and share around.